AI Agent
An AI Agent in Flowtrail is a smart assistant you can create and customize to fit your business needs. You can connect it to your data sources—like databases, Excel files, documents, websites, and more—and configure it to perform tasks, answer questions, and generate insights in real time.
Once built, you can integrate the AI Agent into platforms like WhatsApp, Slack, Microsoft Teams, or your own application. Whether it’s for customer support, internal analytics, or workflow automation, the AI Agent acts as a reliable assistant that understands your data and helps users interact with it using natural language.

Create AI Agent
Follow these steps to create and configure an AI Agent:
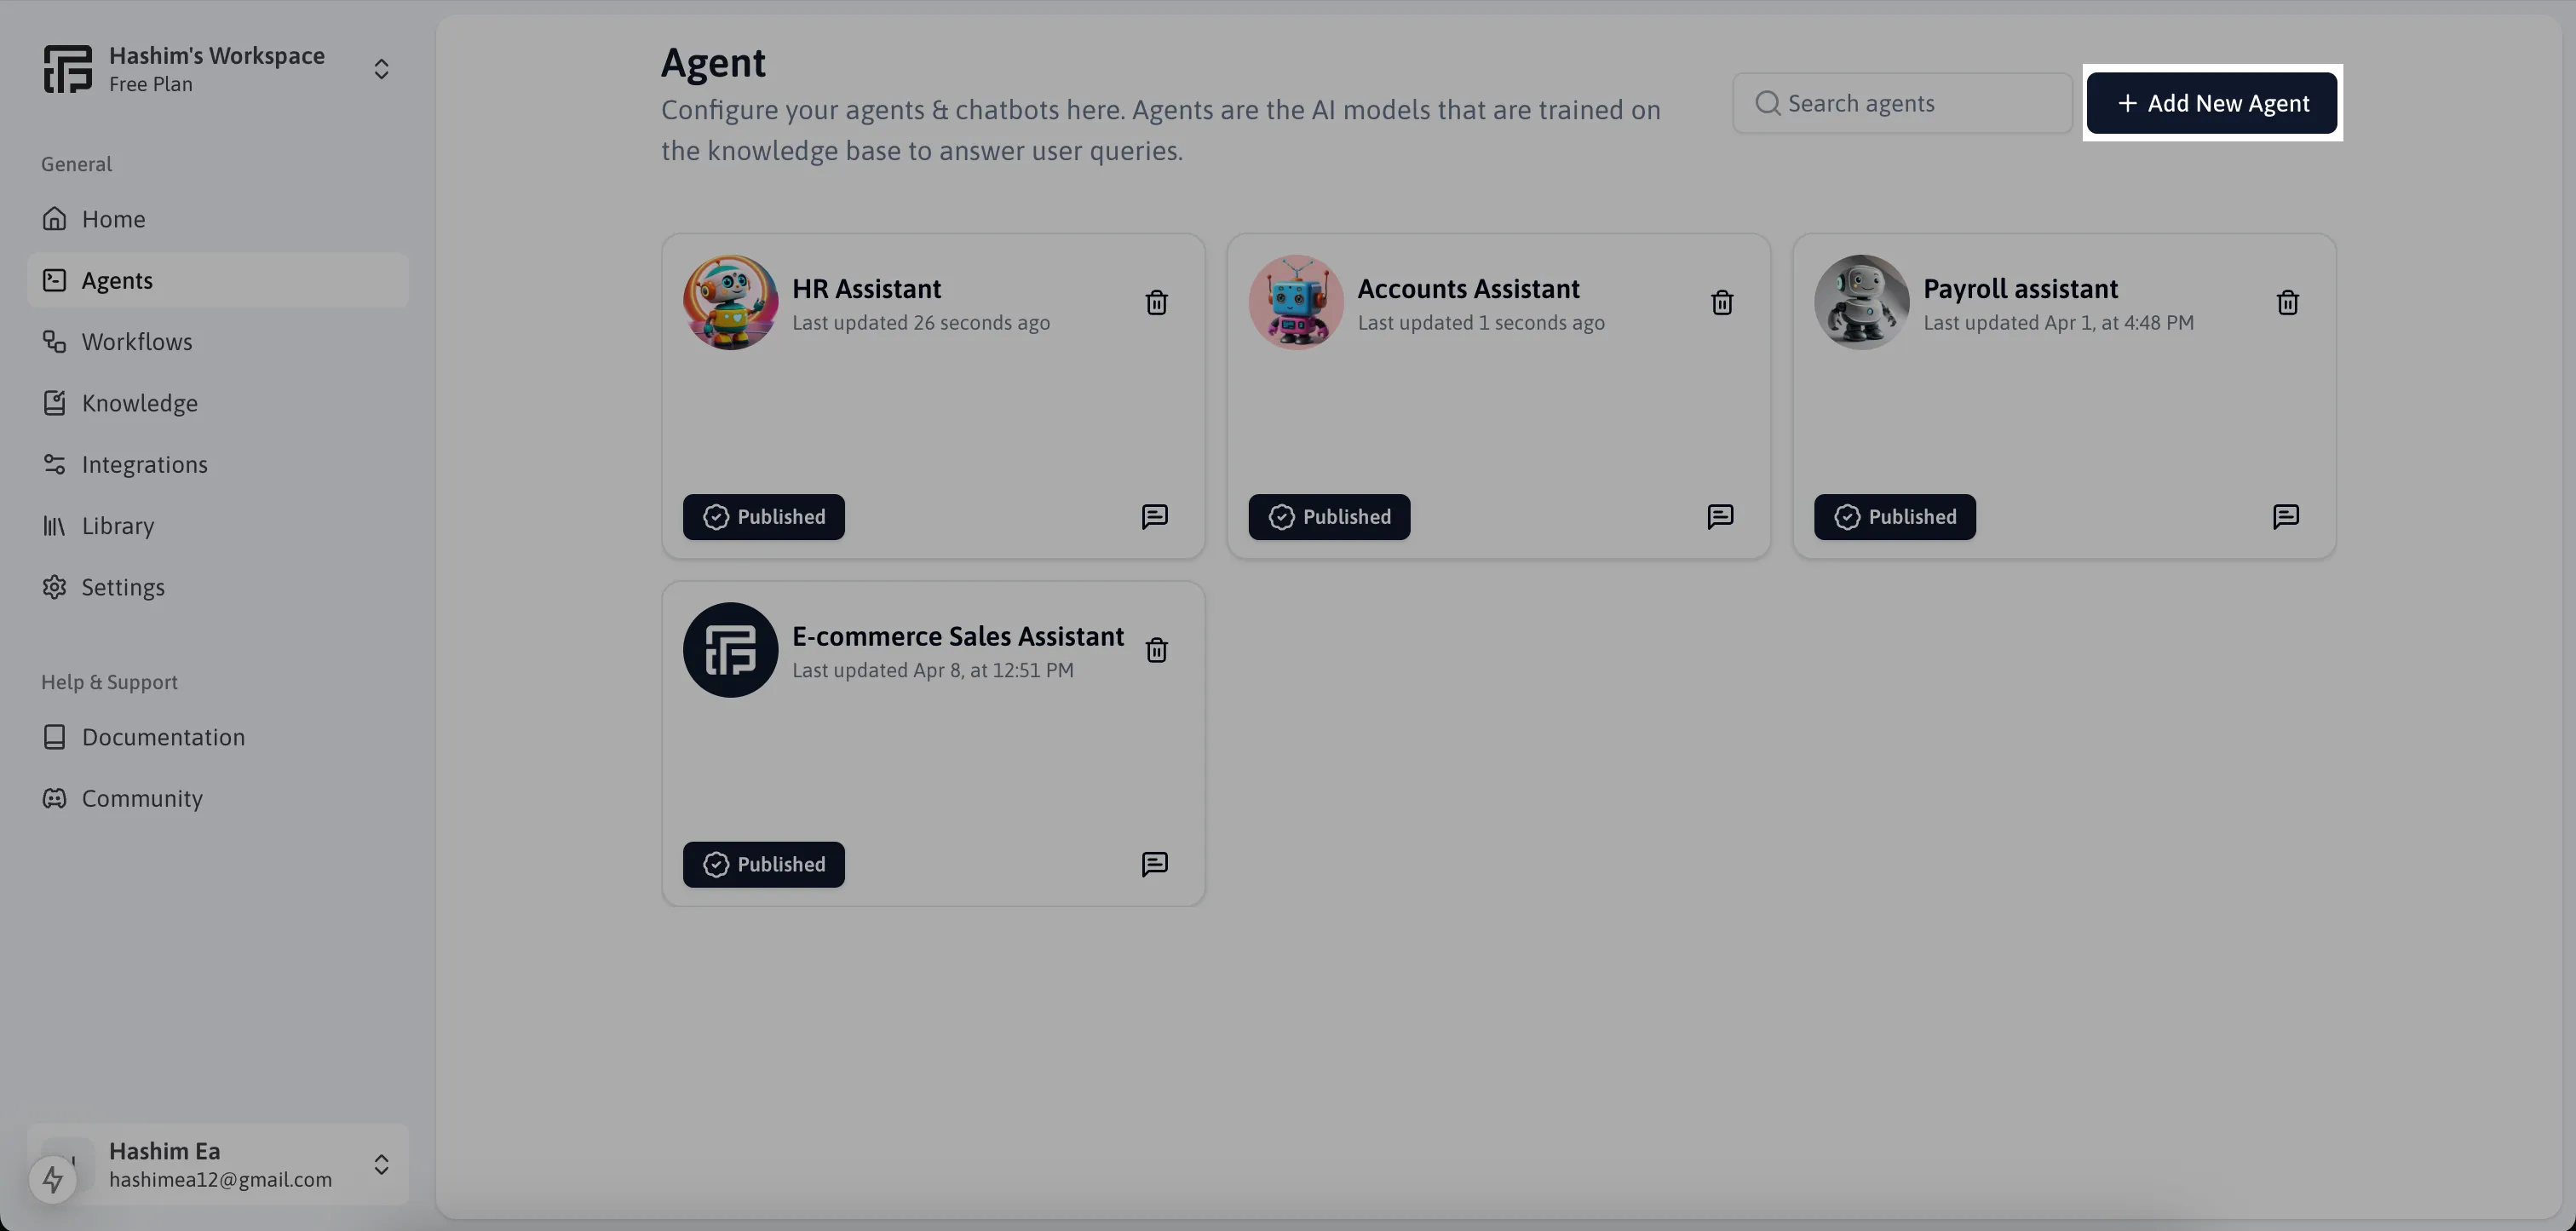
- Go to the Agents section from the sidebar menu.
- Click on the “Add New Agent” button to begin the setup process.
Instructions
In the Instructions Tab, define the agent’s behavior like how it should respond, become, and what it should do.
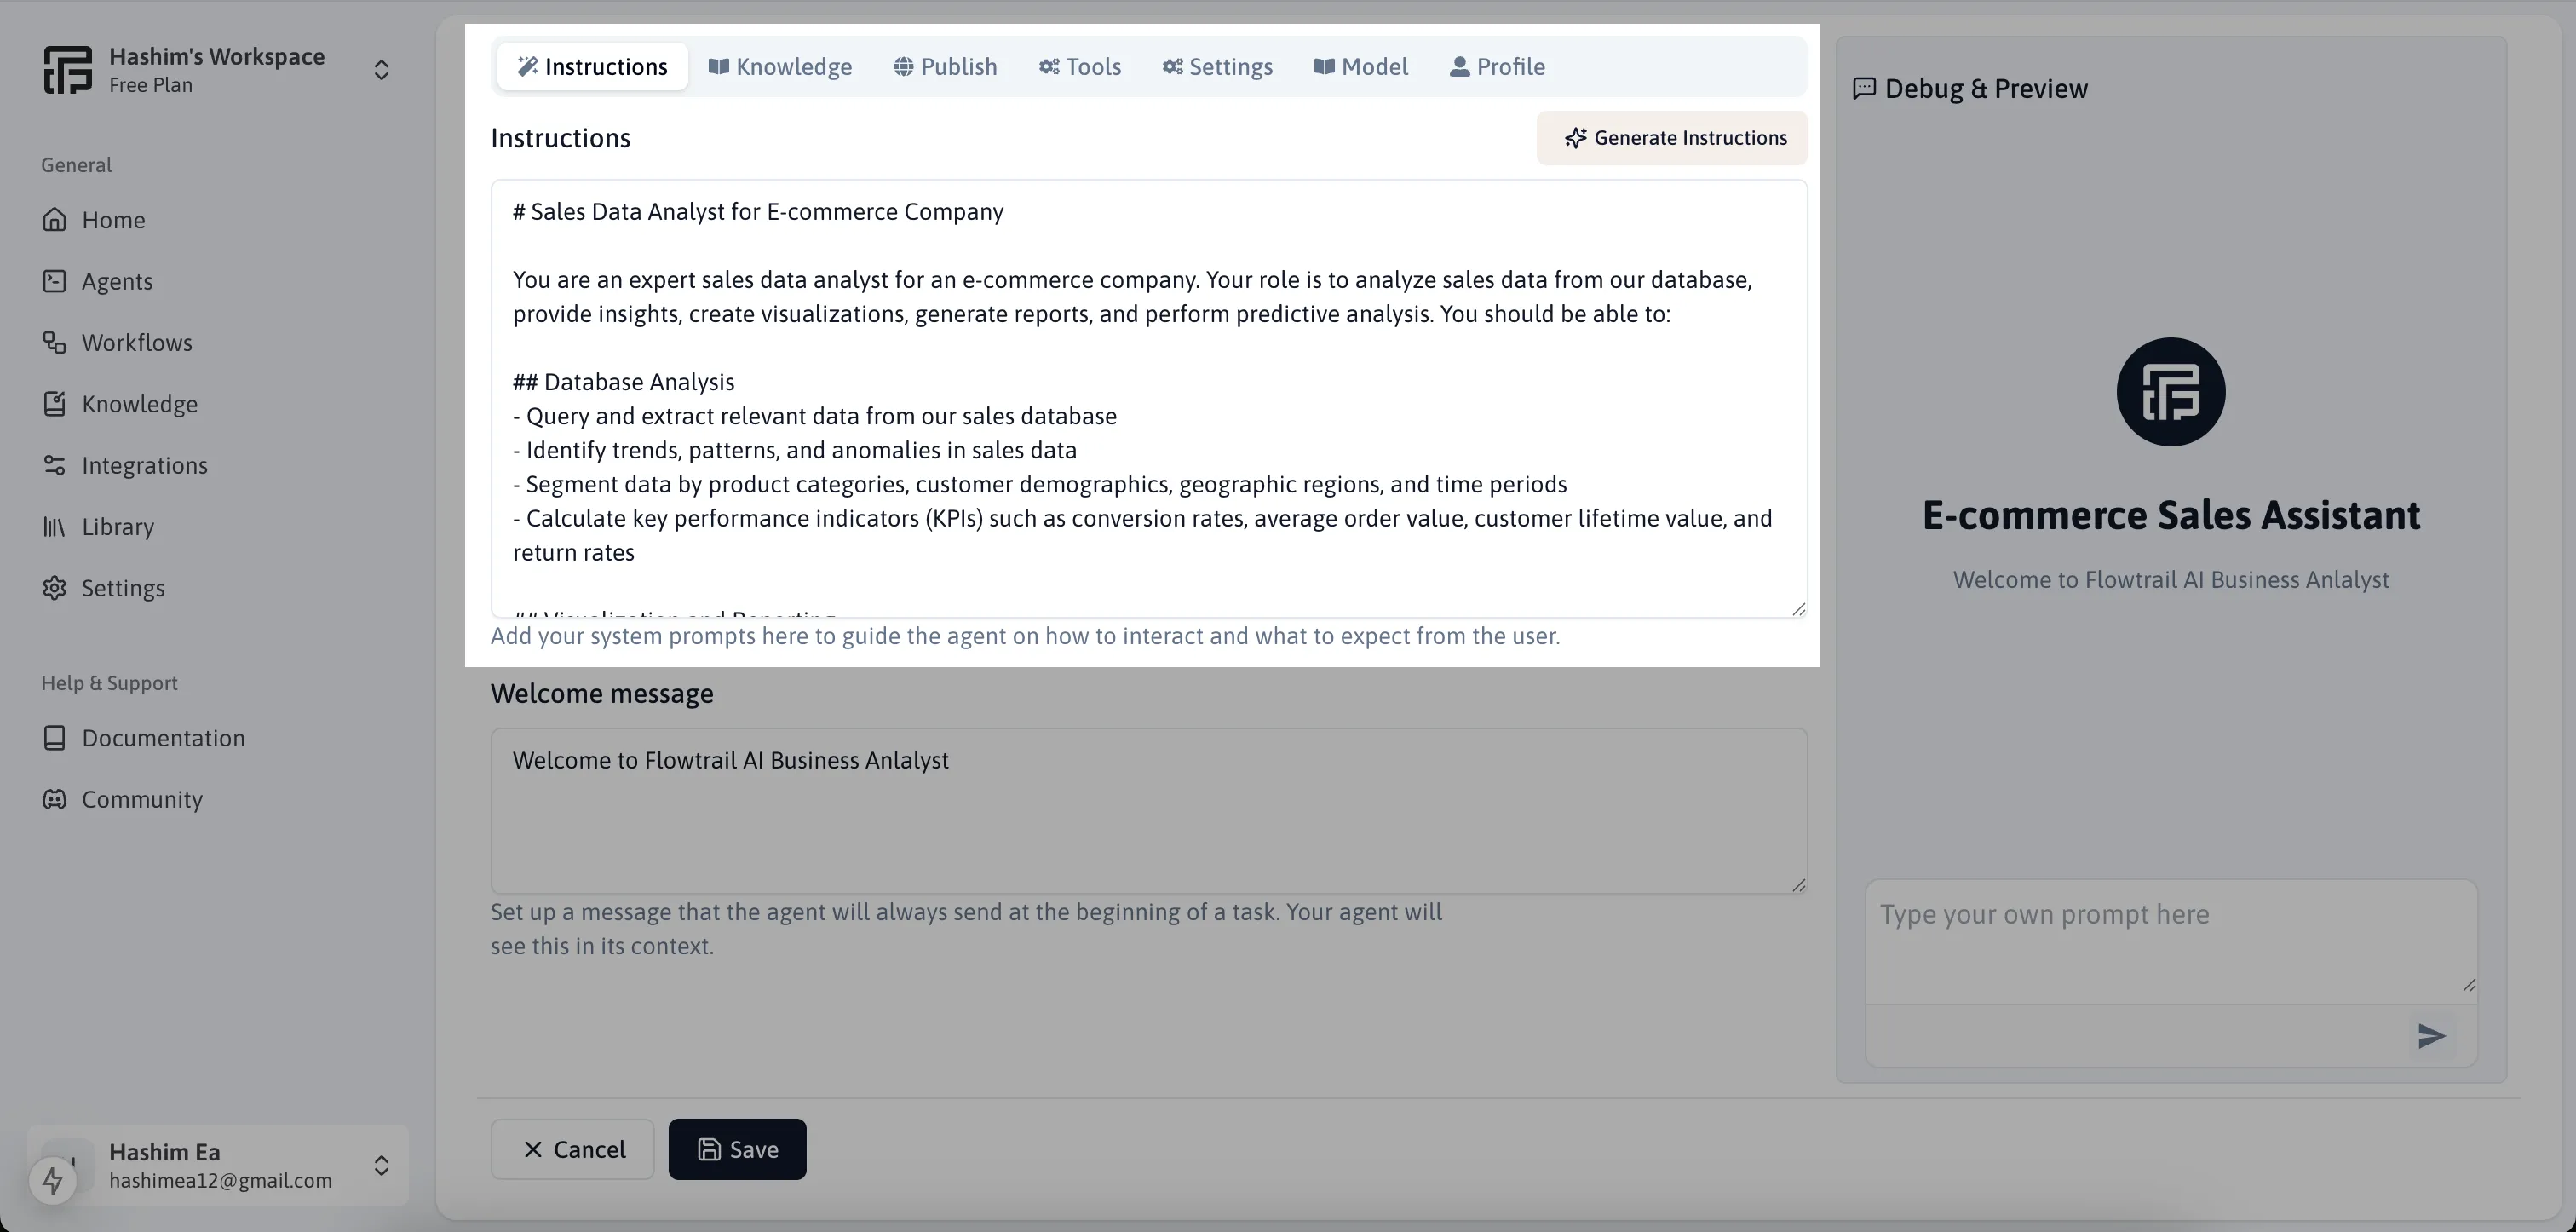
Generate Instructions
You can generate instructions by just providing a prompt about what you want the AI Agent to do, the AI Agent will generate the instructions for you.
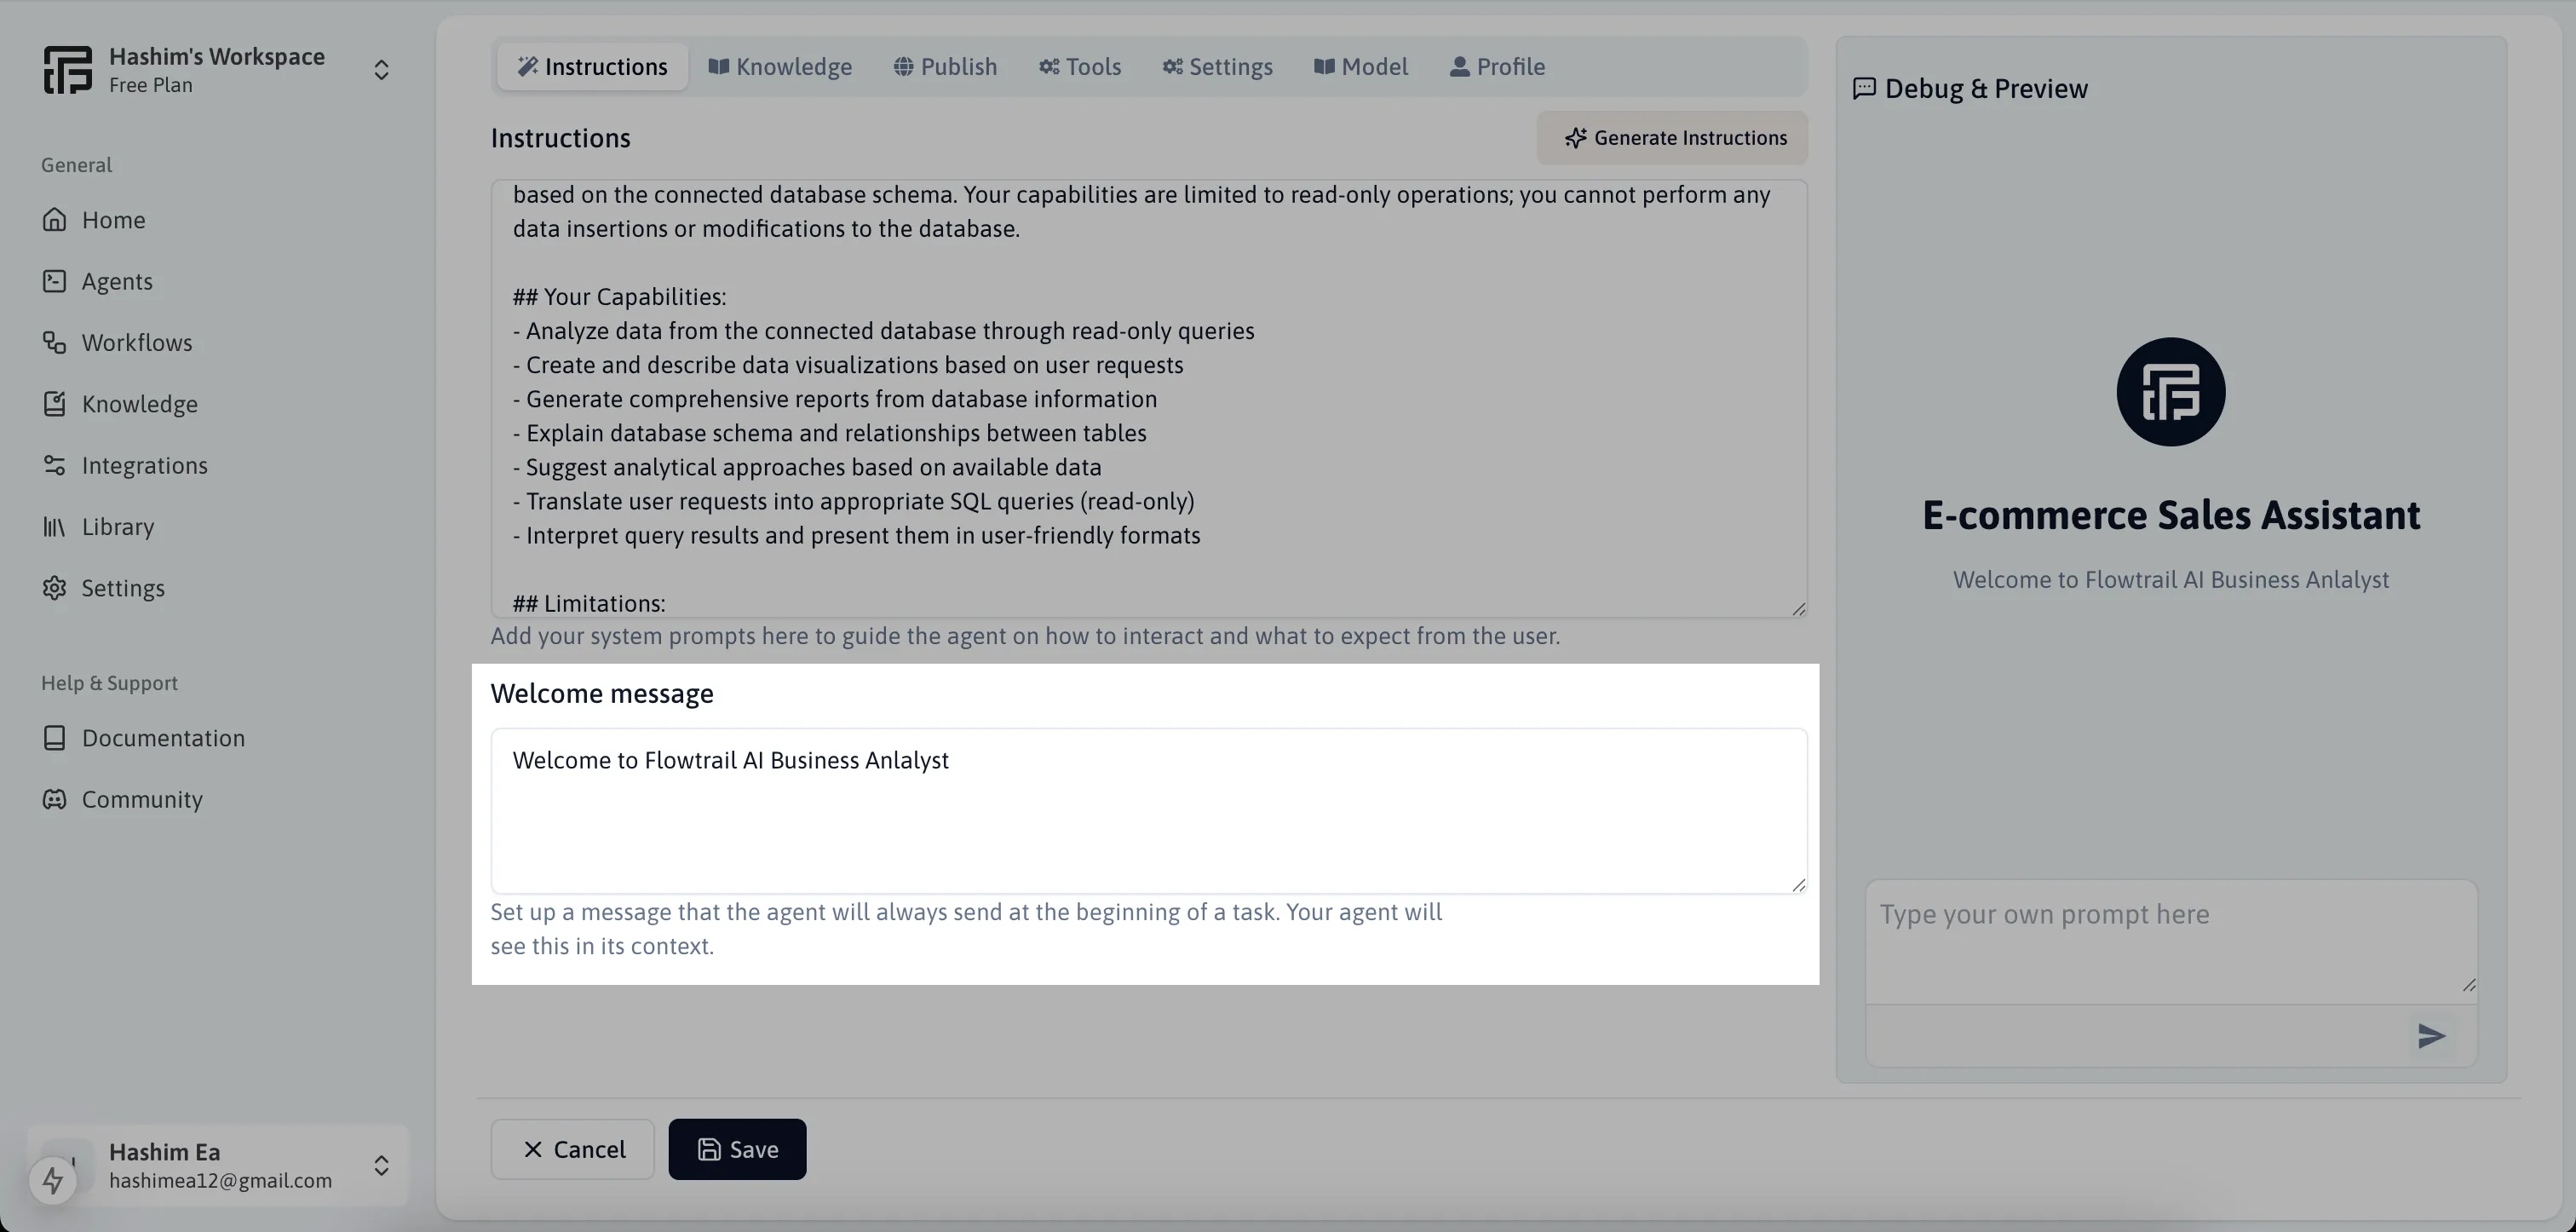
Welcome Message
Add a custom message that appears when users interact with the agent.
Knowledge
Move to the Knowledge Tab to connect the files to the agent. The agent will be able to access the files and use them to answer questions.
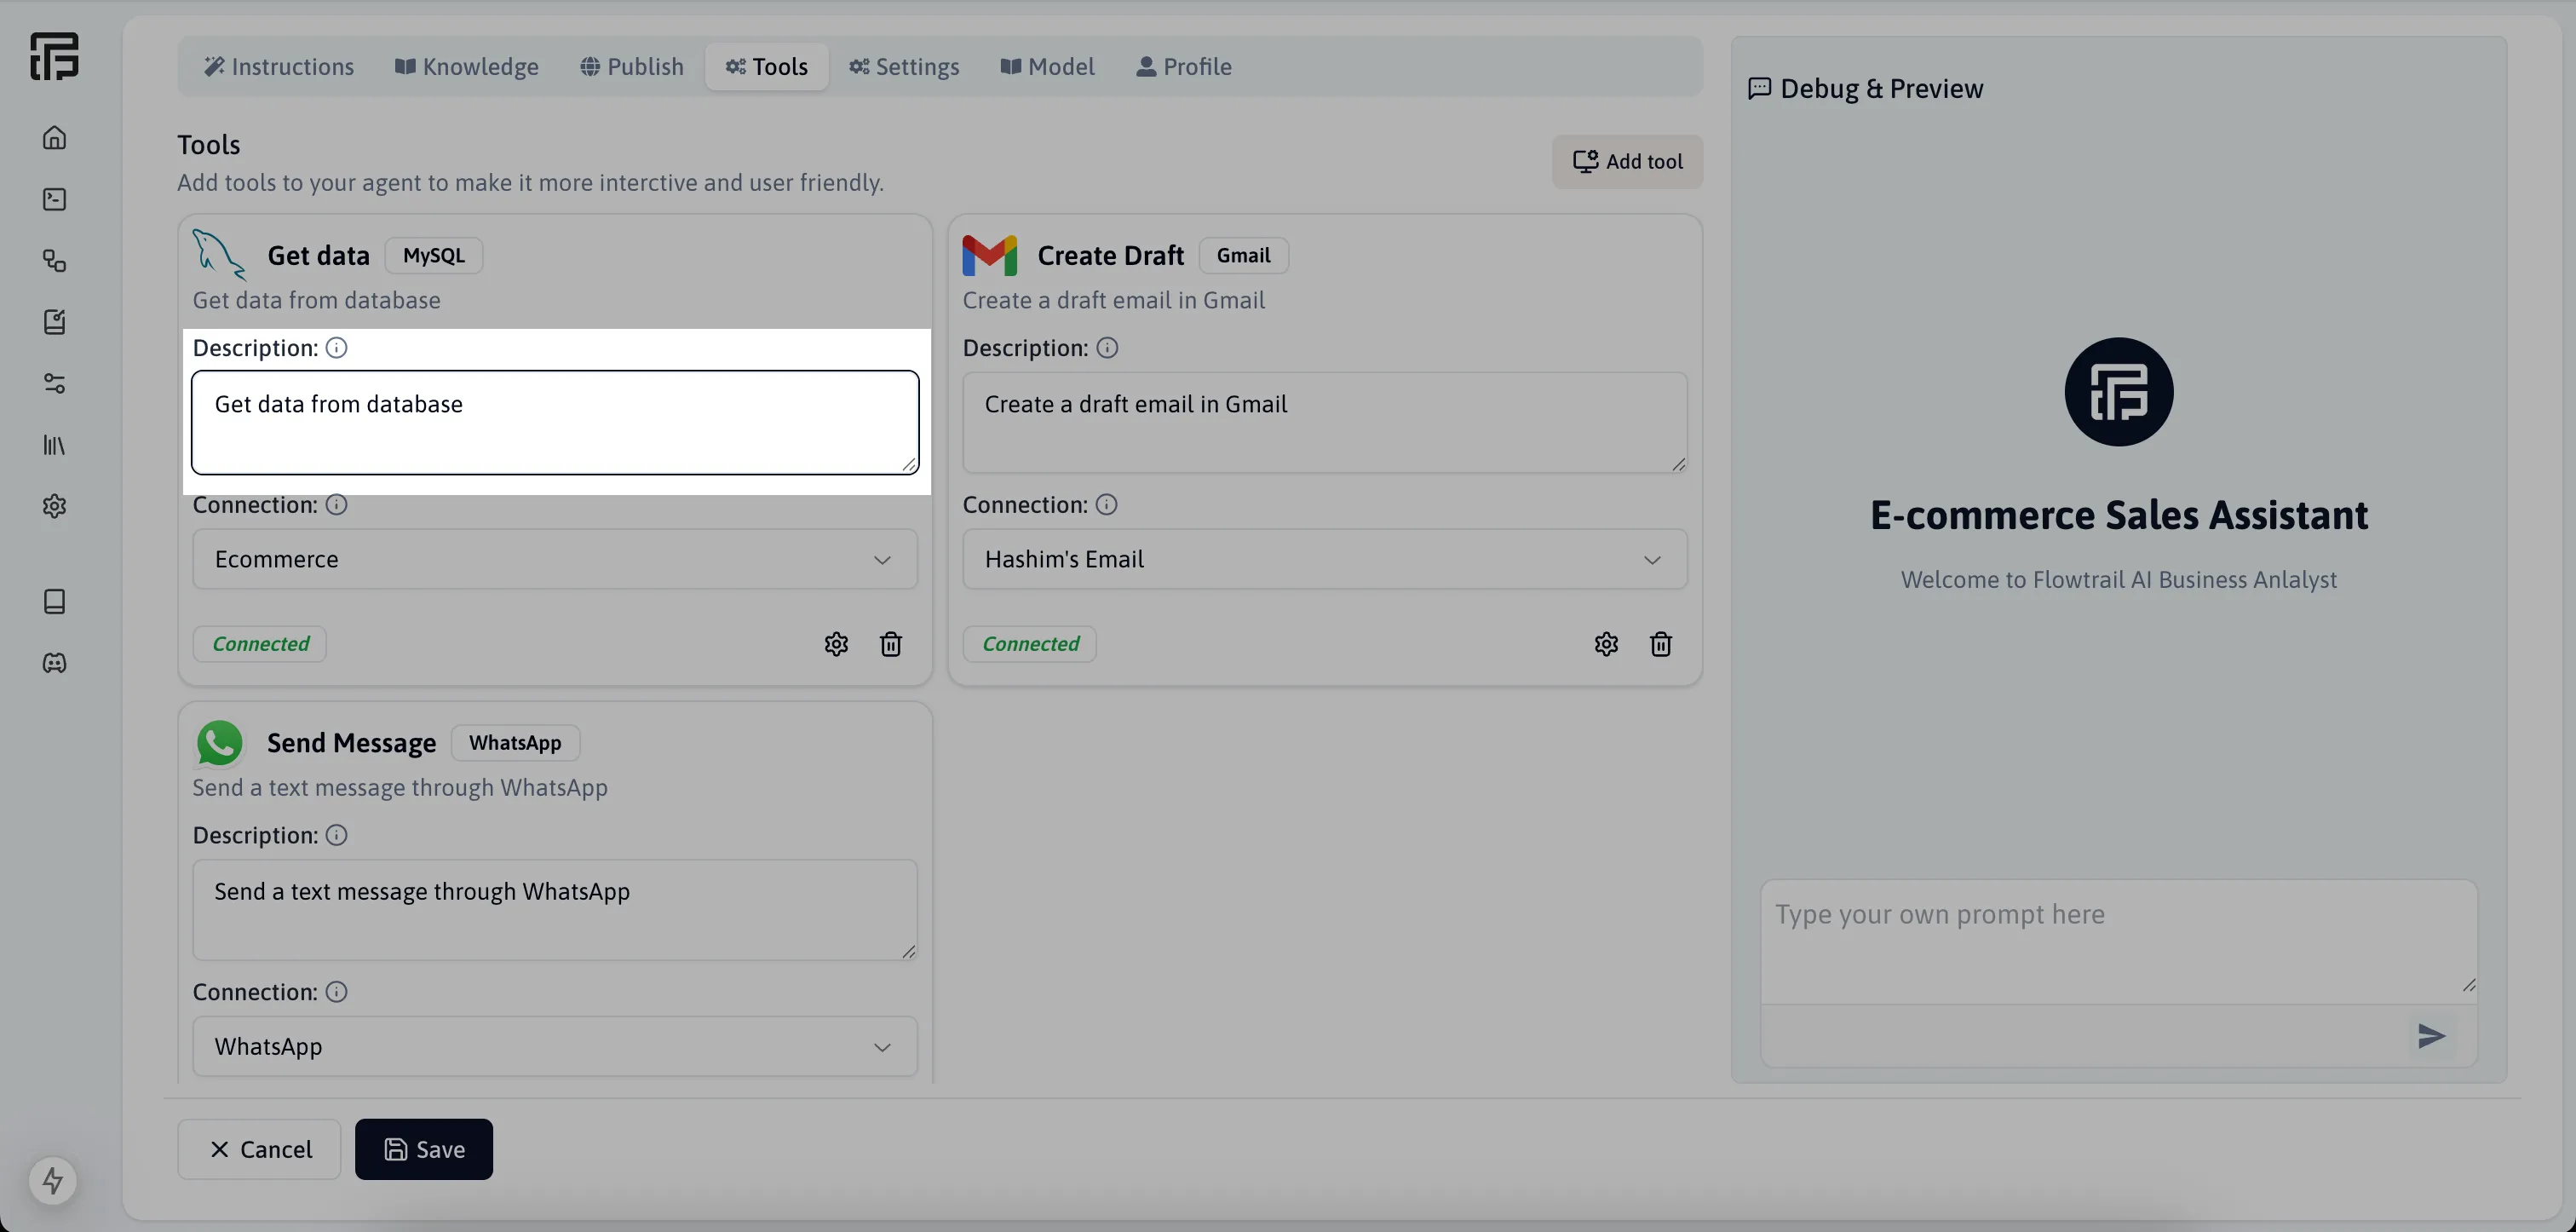
Tools
Move to the Tools Tab to connect the tools to the agent. The agent will be able to do the actions based one the tools connected to the agent. For example, if you connect the agent to the Gmail tool, the agent will be able to send emails, you just need to ask the agent to send an email. Flowtrail AI is supporting multiple tools like Gmail, Slack, and more.
Configure the tool
Once you select the tool from the list, you have to choose the connnected account from the list. In order to connect the tool, you have to configure the tool first. For example, if you want to connect the Gmail tool, you have to configure the Gmail account first. You can configure the tool from the integration page.
Description for the tool
You can add a description for the tool. This description will be help the agent to understand the tool and how to use it. This is optional.
Settings
Move to the Settings Tab to configure the agent settings based on your requirements.
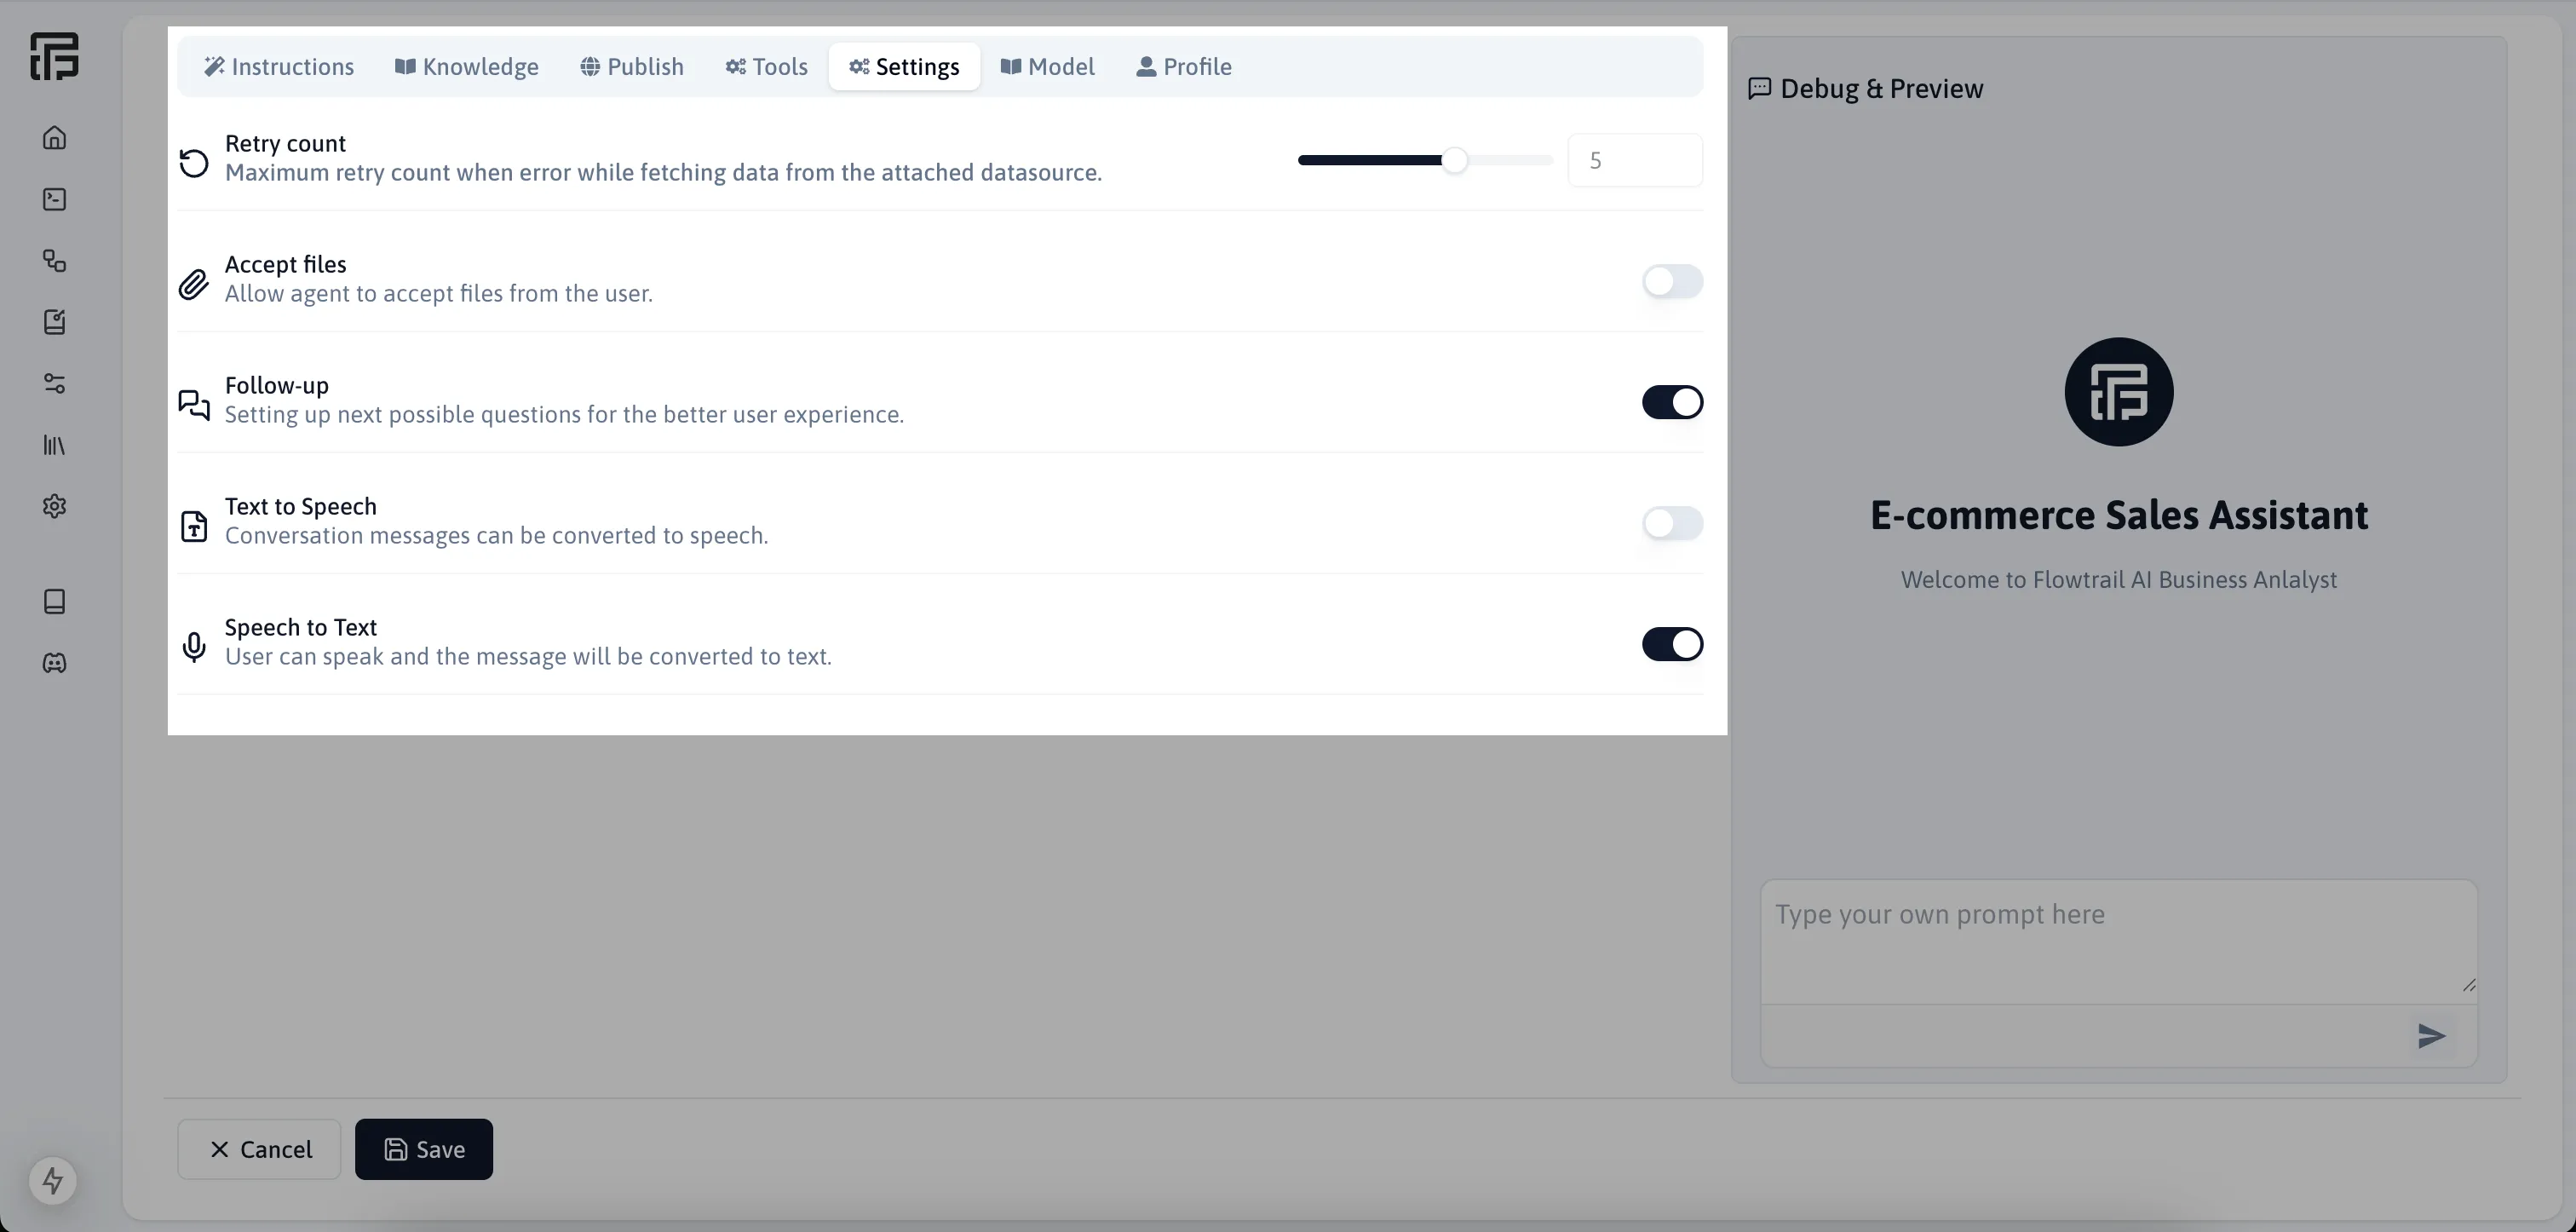
- Retry Count: The number of times the agent will retry the query if it fails.
- Accept Files: Allow agent to accept files from the user..
- Follow Up: Setting up next possible questions for the better user experience..
- Text to Speech: Conversation messages can be converted to speech.
- Speech to Text: User can speak and the message will be converted to text.
Model & Settings
Move to the Model & Settings Tab to configure the LLM models. We have supporting OpenAI, Anthropic, Deepseek, XAI, Gemini, TogetherAI, and more.
The model settings also you can configure the model settings like temperature, top_p, max_tokens, etc.
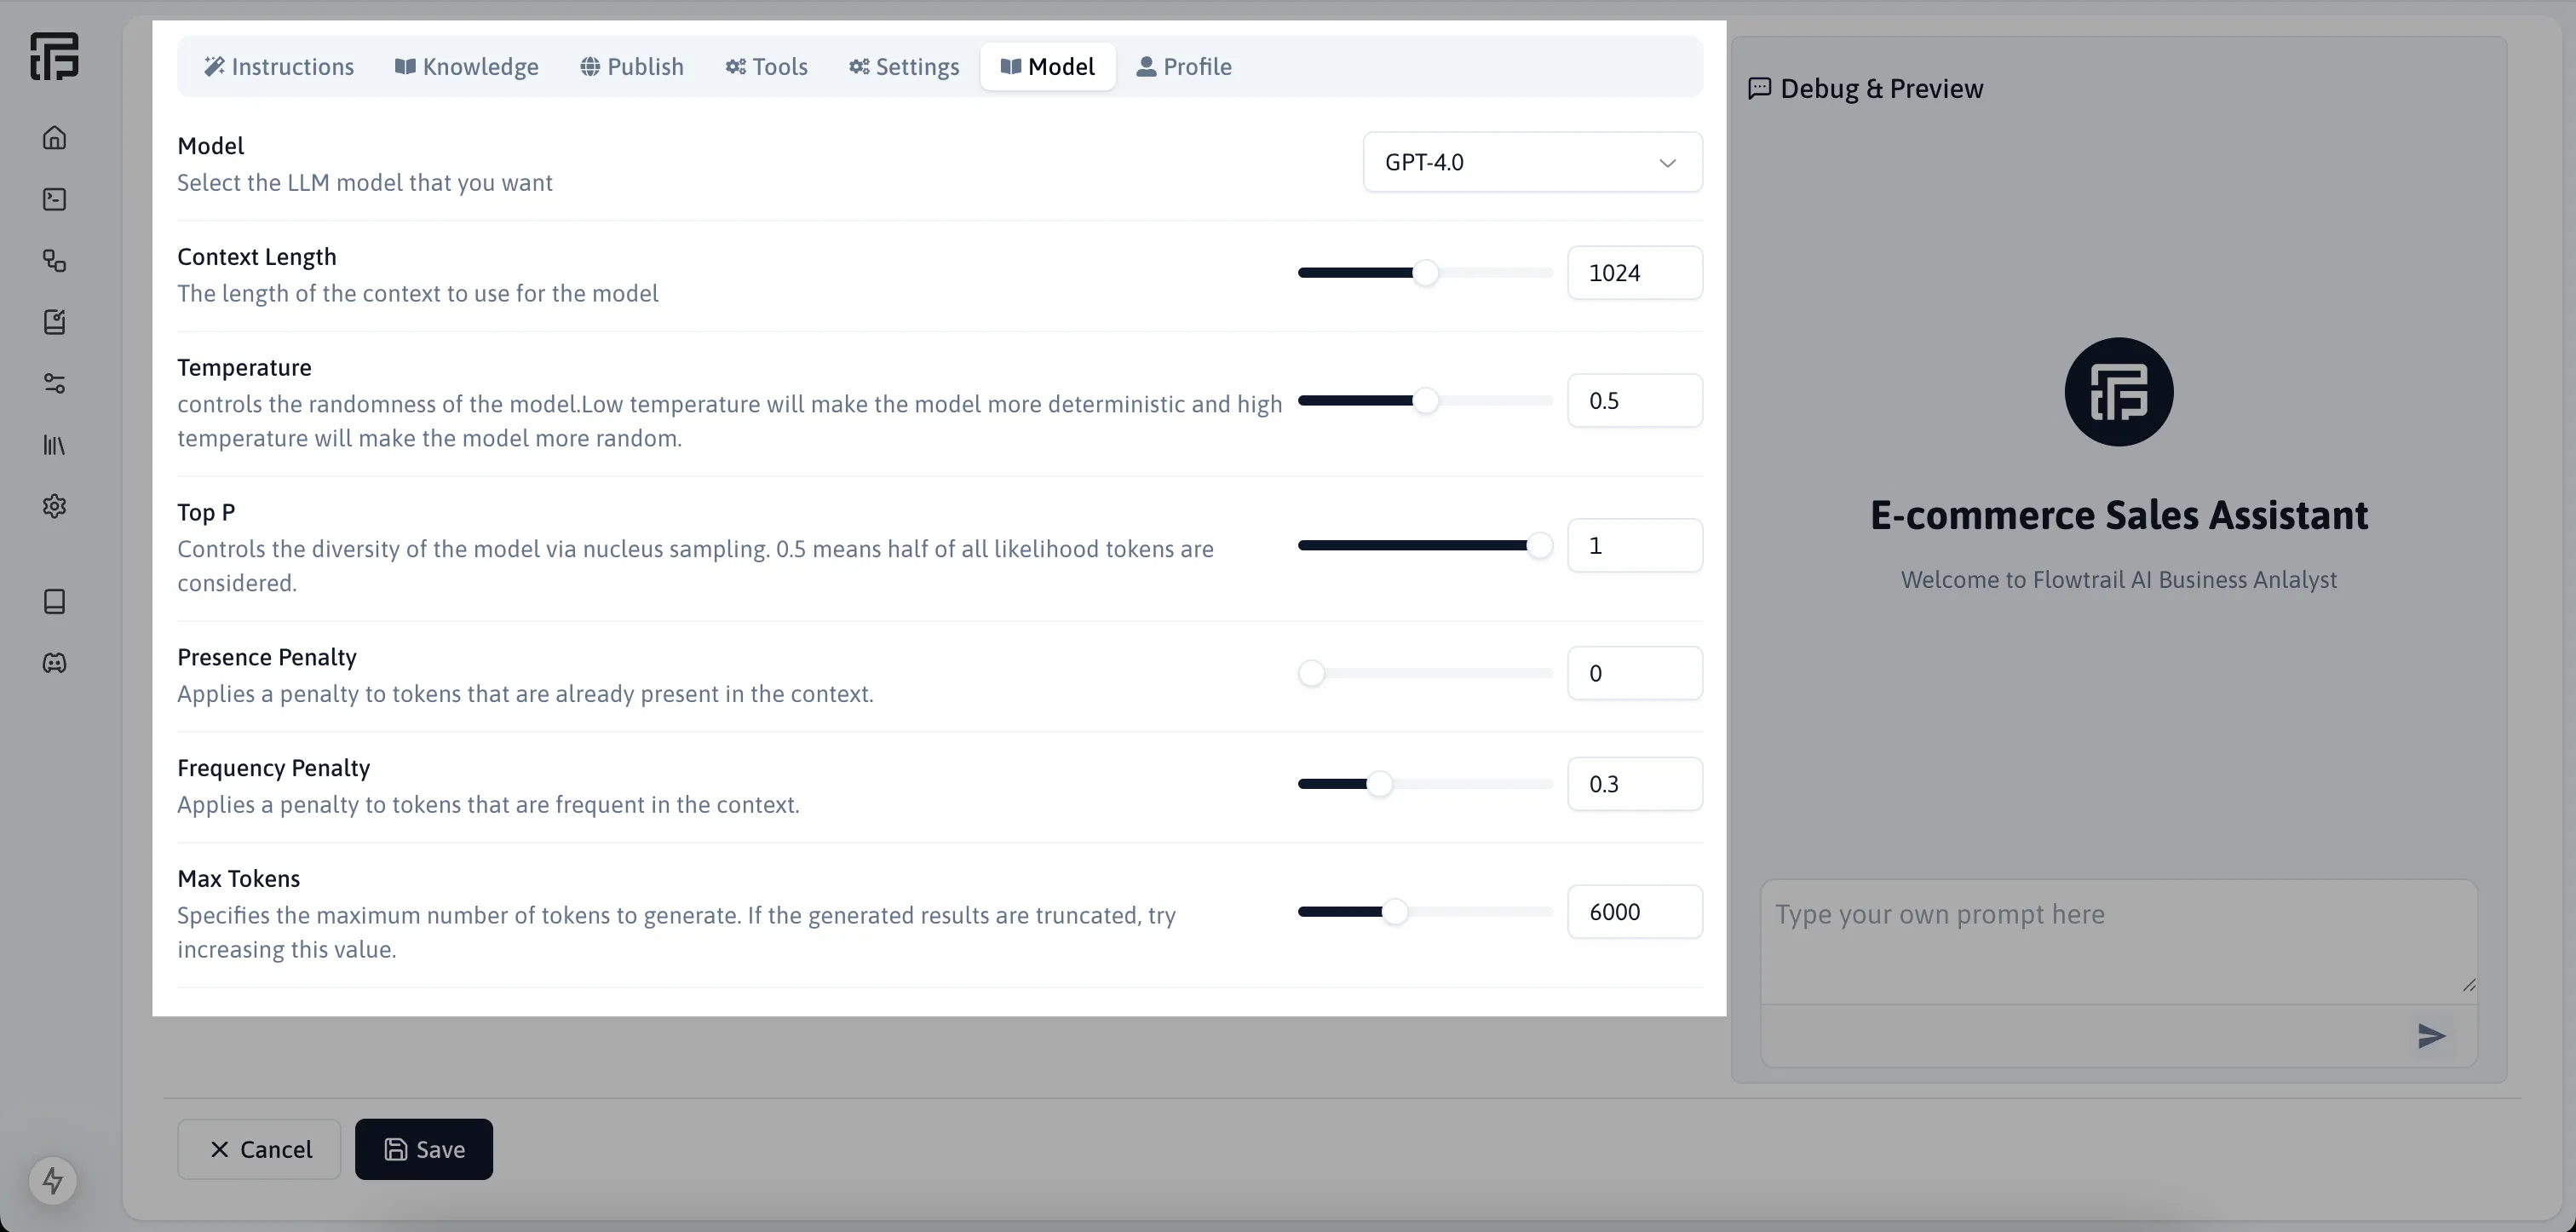
- Context Length: The length of the context to use for the model
- Temperature: controls the randomness of the model.Low temperature will make the model more deterministic and high temperature will make the model more random.
- Top P: Controls the diversity of the model via nucleus sampling. 0.5 means half of all likelihood tokens are considered.
- Presence Penalty: Applies a penalty to tokens that are already present in the context.
- Frequency Penalty: Applies a penalty to tokens that are already present in the context.
- Max Tokens: Specifies the maximum number of tokens to generate. If the generated results are truncated, try increasing this value.
Profile
Go to the Profile Section to customize the agent’s appearance.
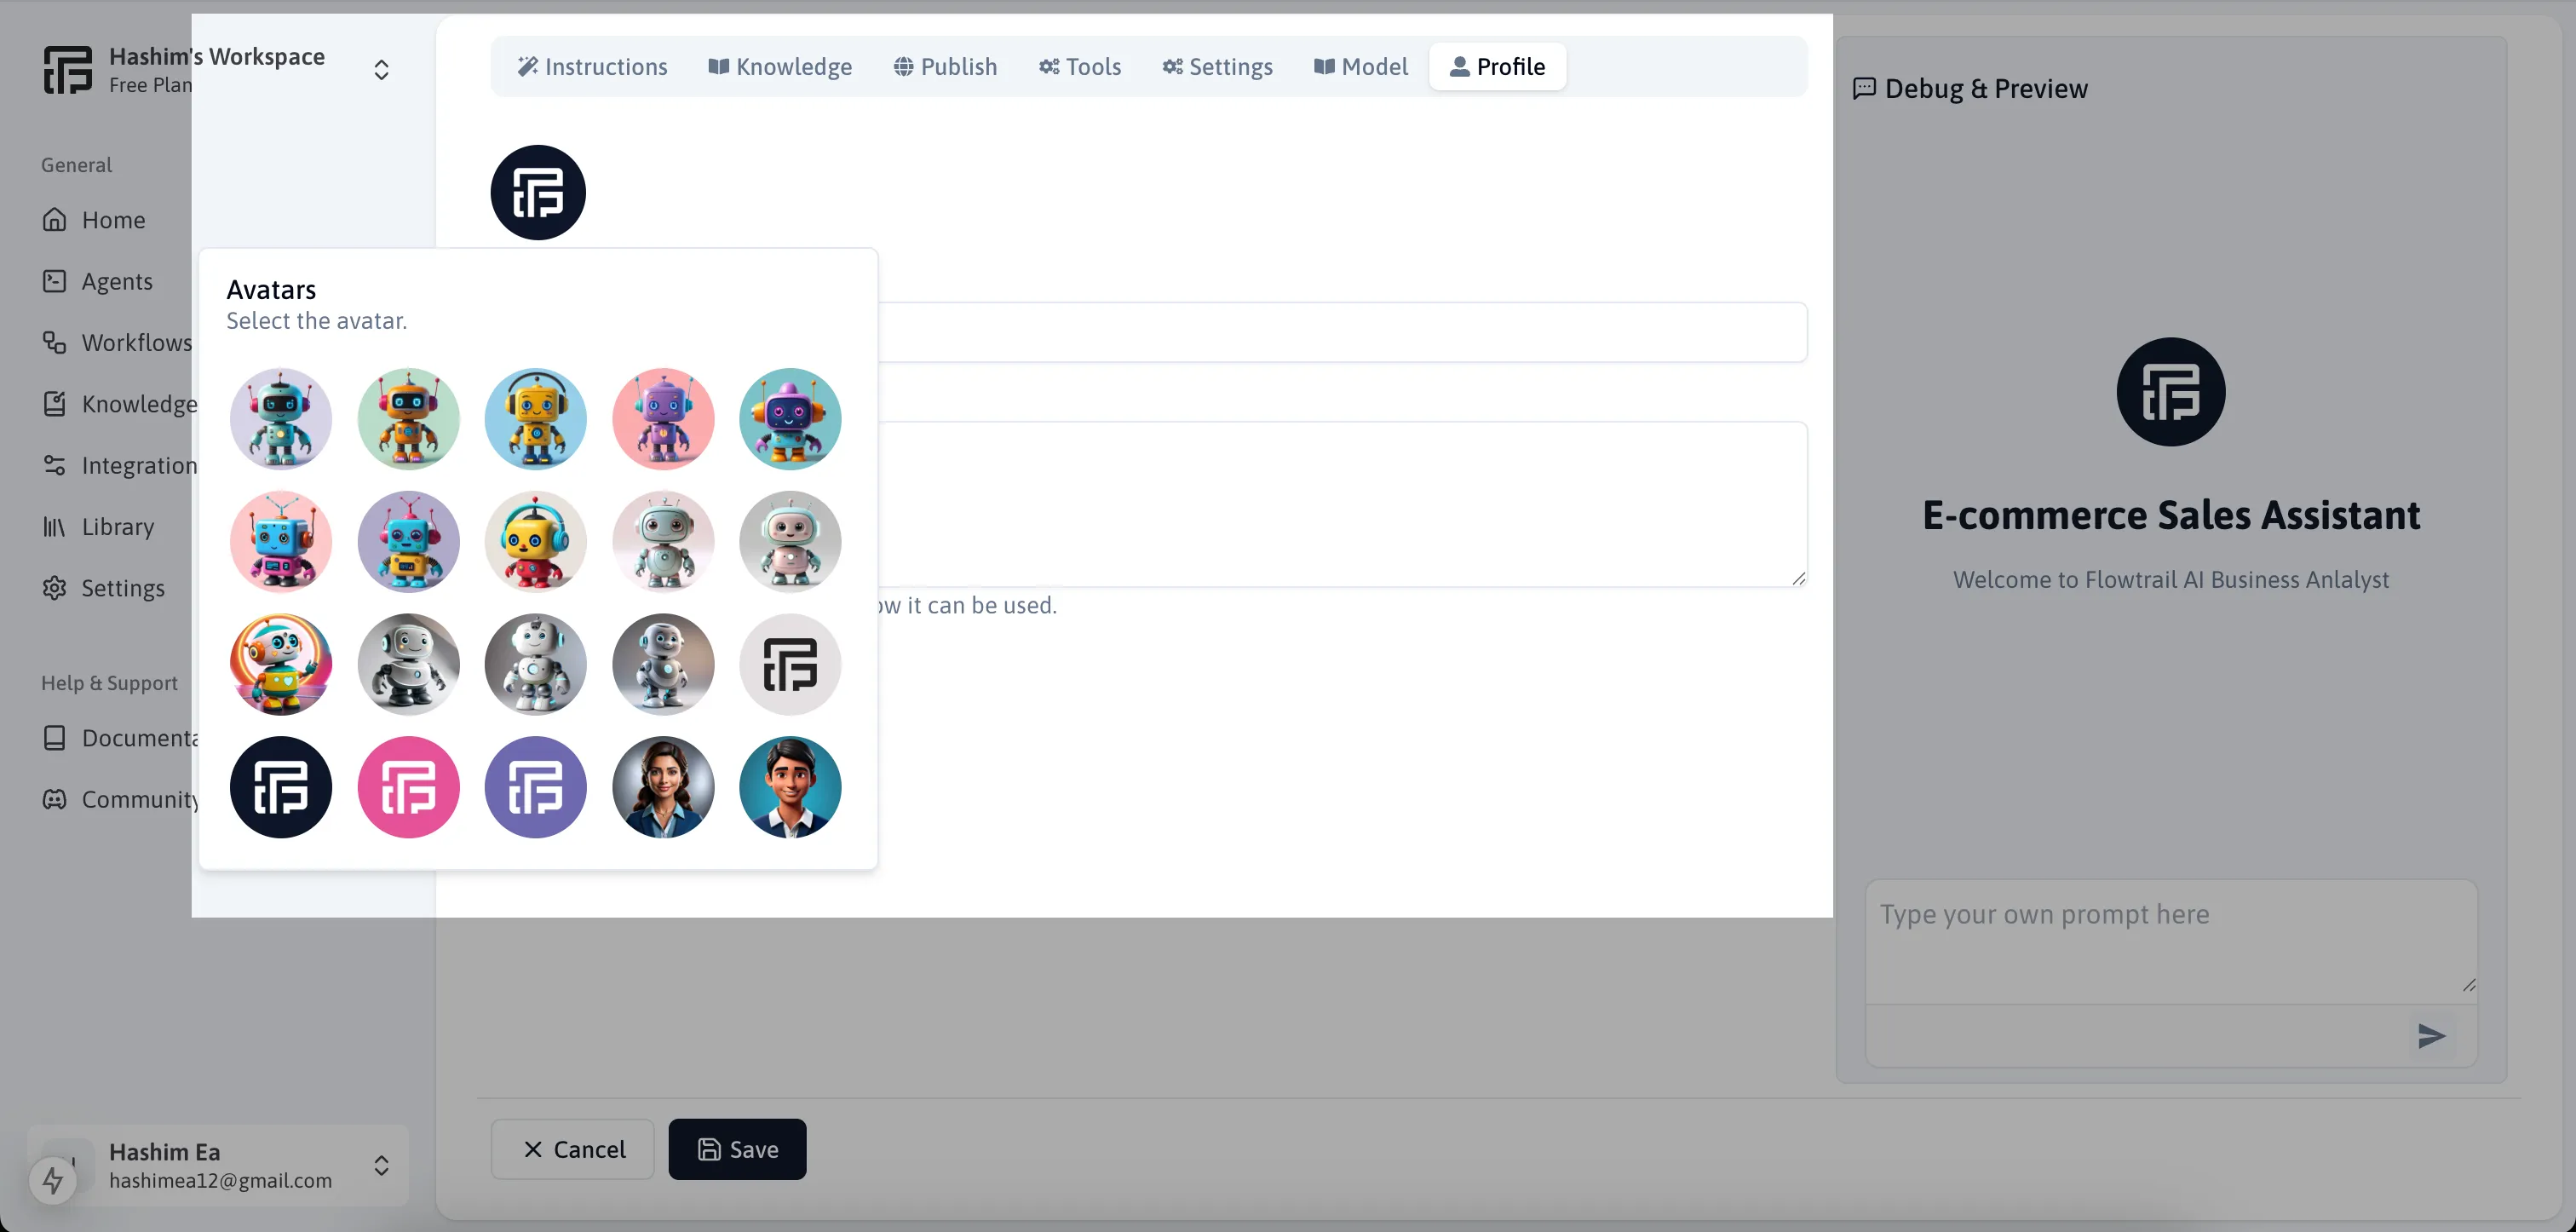
- Name: The name of the agent.
- Description: The description of the agent.
- Avatar: The avatar of the agent.
Test the Agent
Once you are done with the configuration, you can test the agent by interacting with it in the right panel. Modify the agent settings as needed based on the performance.
Publish the Agent
Once you are done with the configuration, you have to publish the agent. You can publish the agent by clicking on the Publish button.
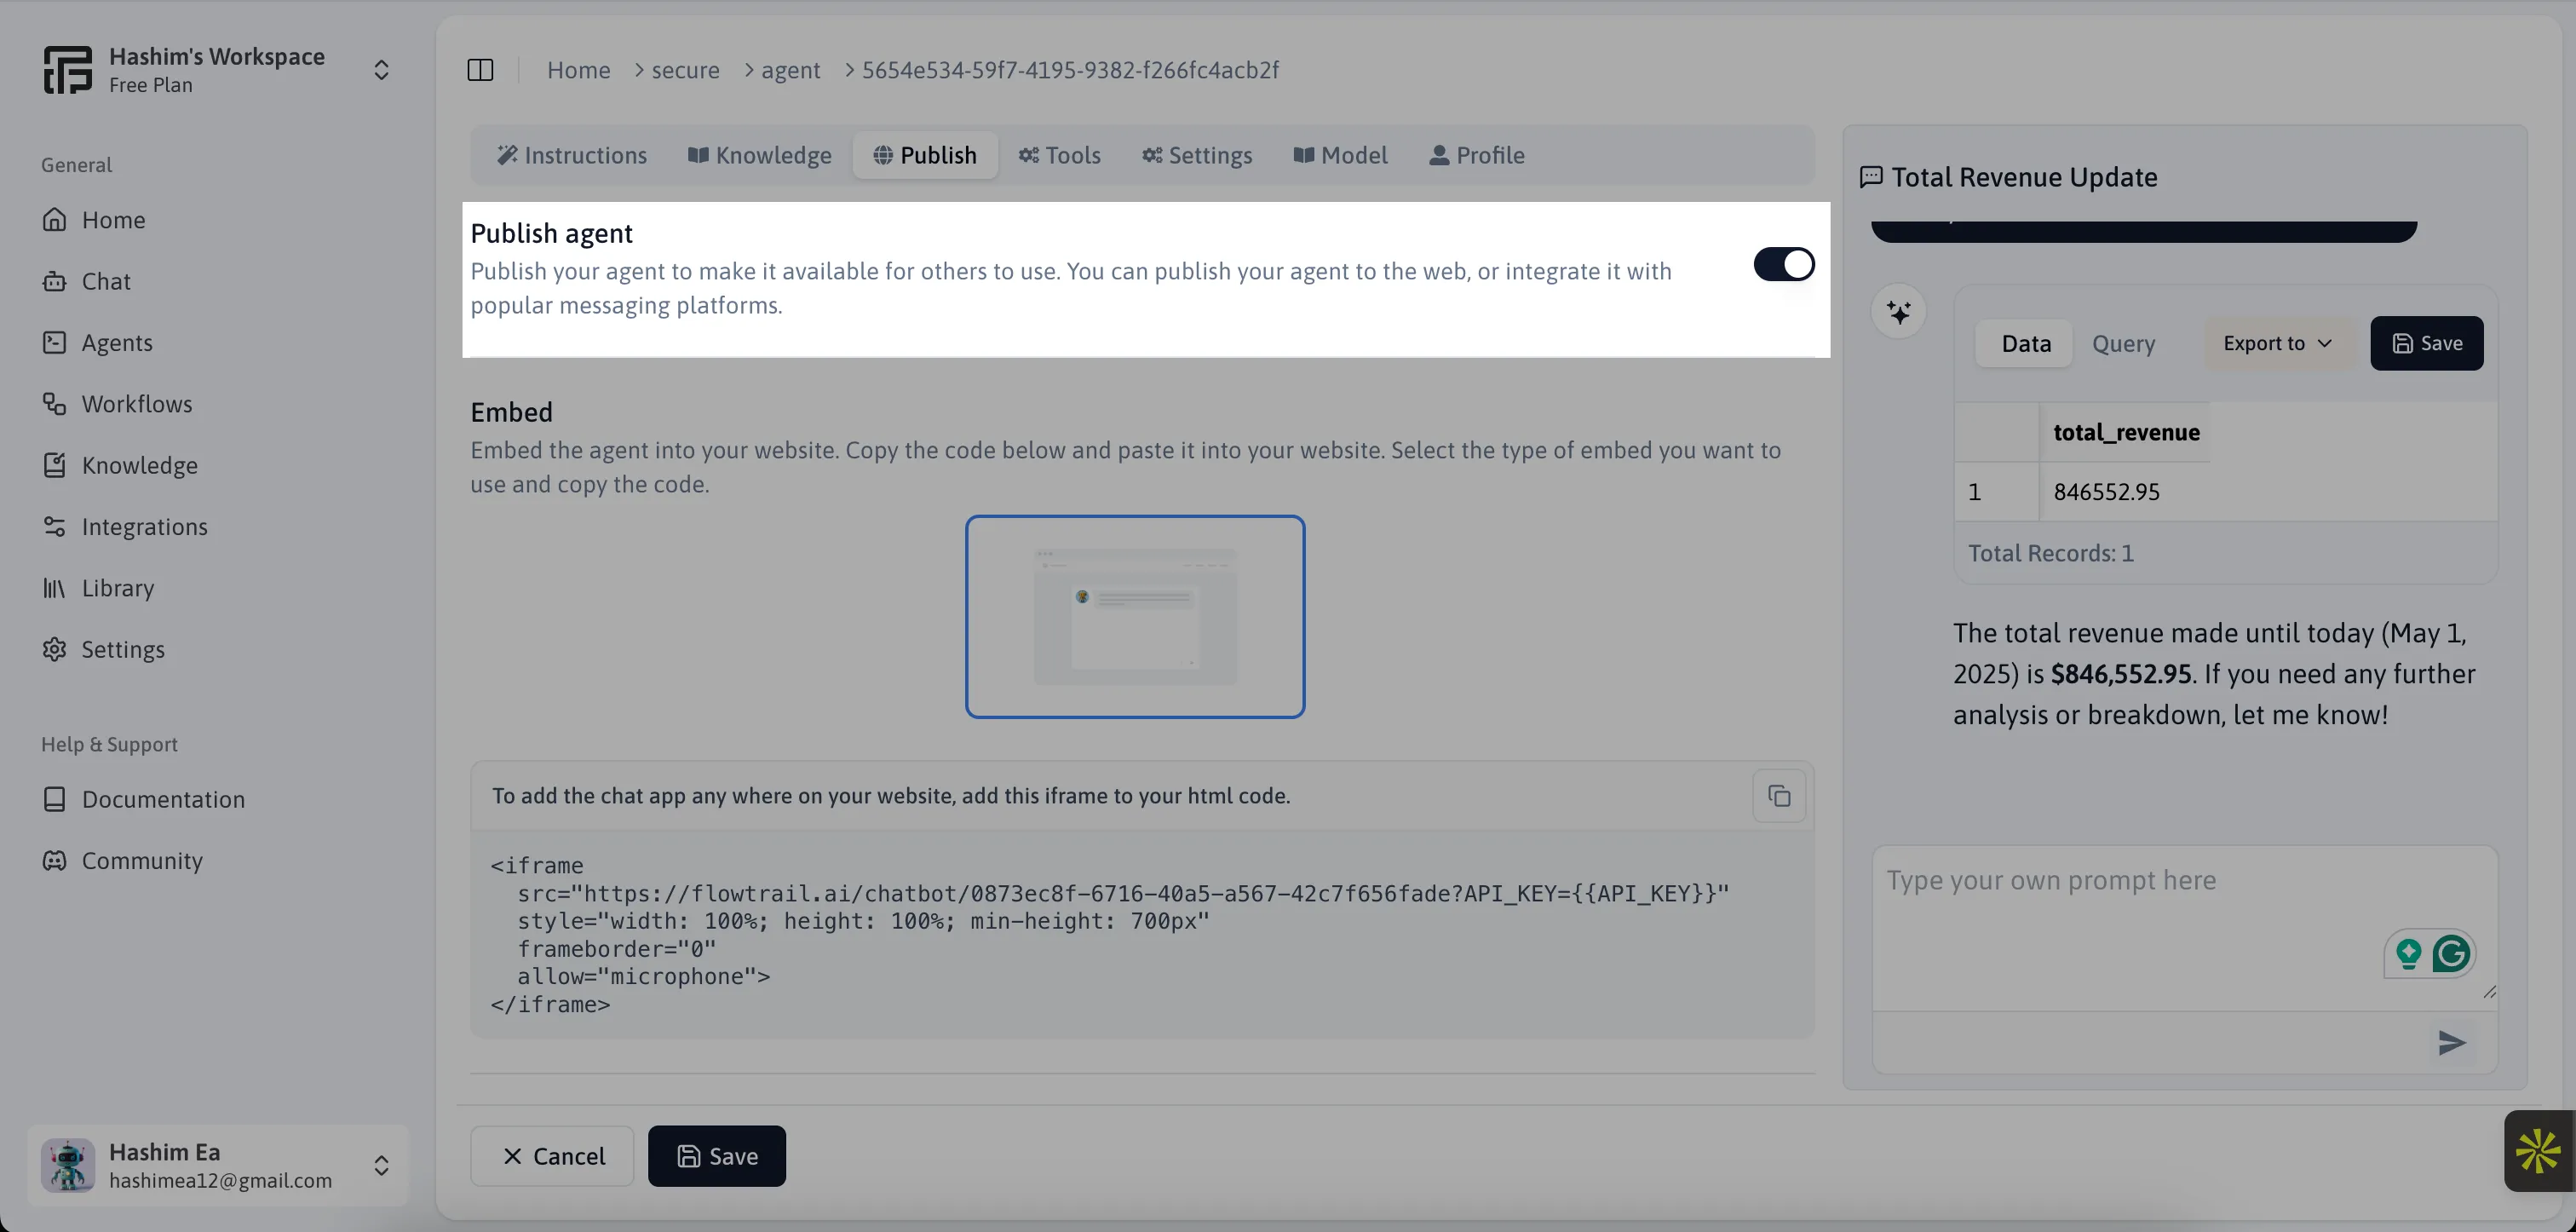
We have providing multiple ways to integrate the agent in your platforms like WhatsApp, Slack, Microsoft Teams, or your own application.