Create AI Agents
AI Agents in FlowTrail AI allow you to interact with data intelligently by connecting databases, uploading files, and configuring custom models. Follow these steps to create and configure an AI Agent:
Navigate to the AI Agent Screen
- Go to the AI Agents section from the sidebar menu.
- Click on the “Add New Agent” button to begin the setup process.

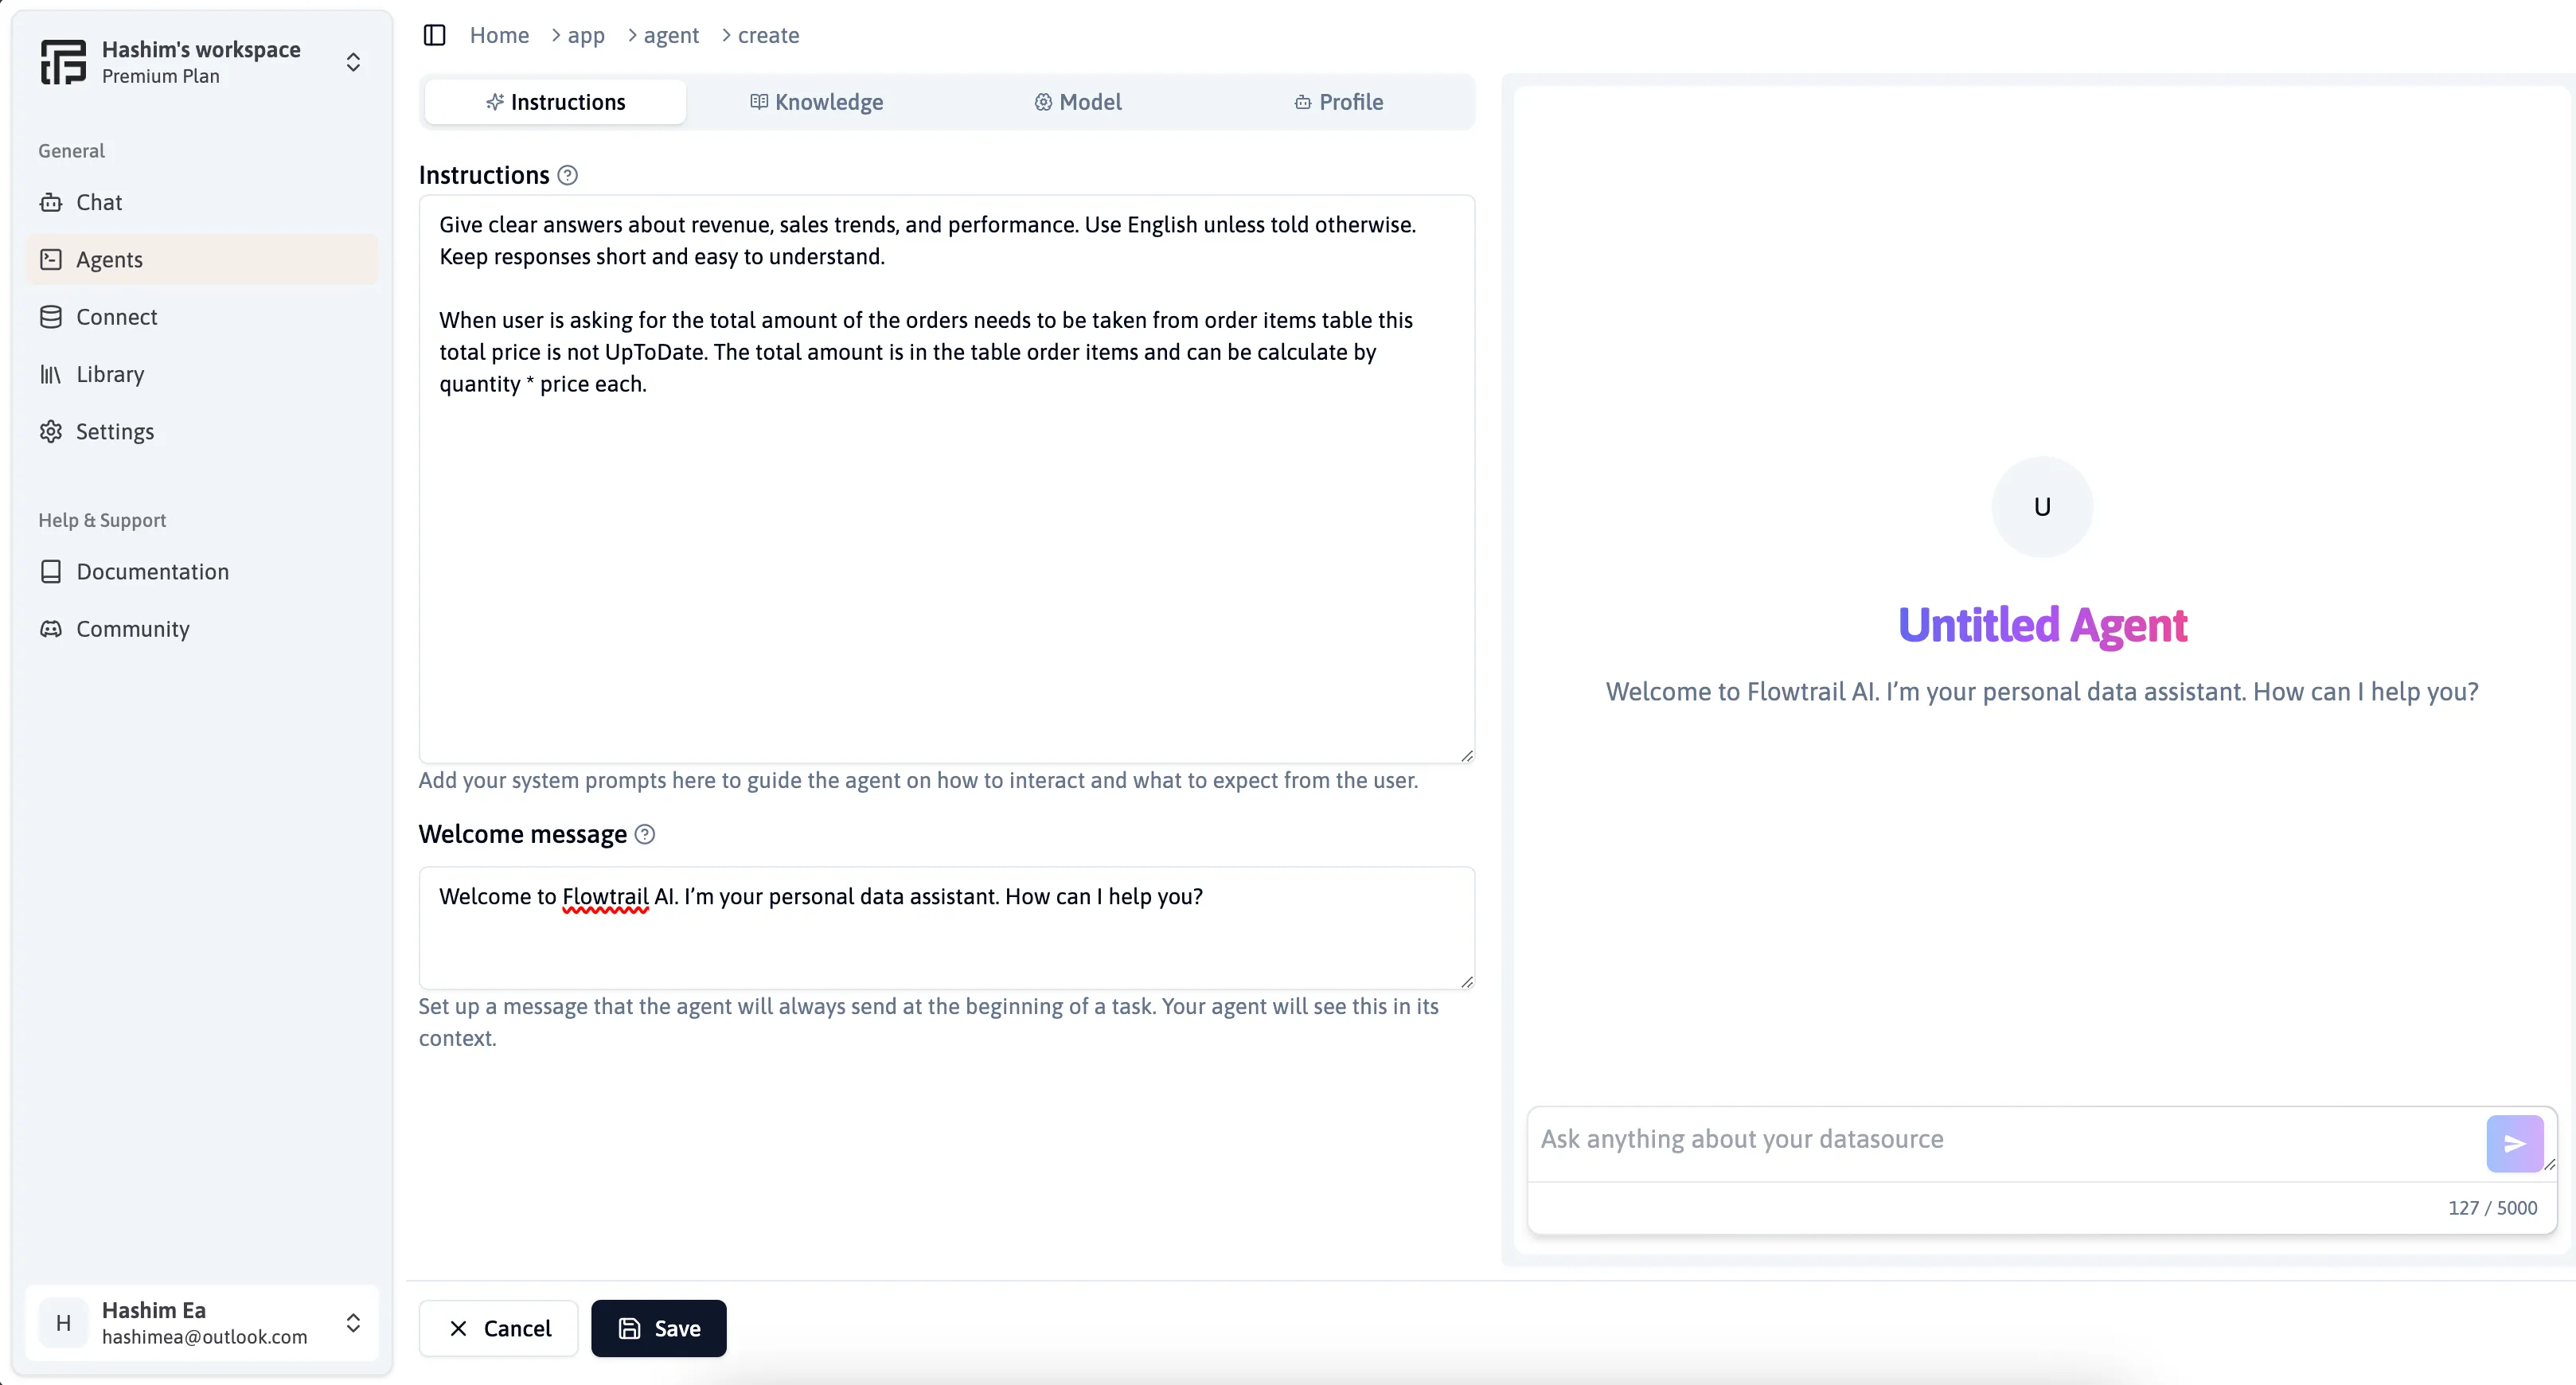
Provide Agent Instructions
In the Instructions Tab, define the agent’s behavior by entering:
- Instructions: Provide guidance on how the agent should respond.
- Welcome Message (Optional): Add a custom message that appears when users interact with the agent.
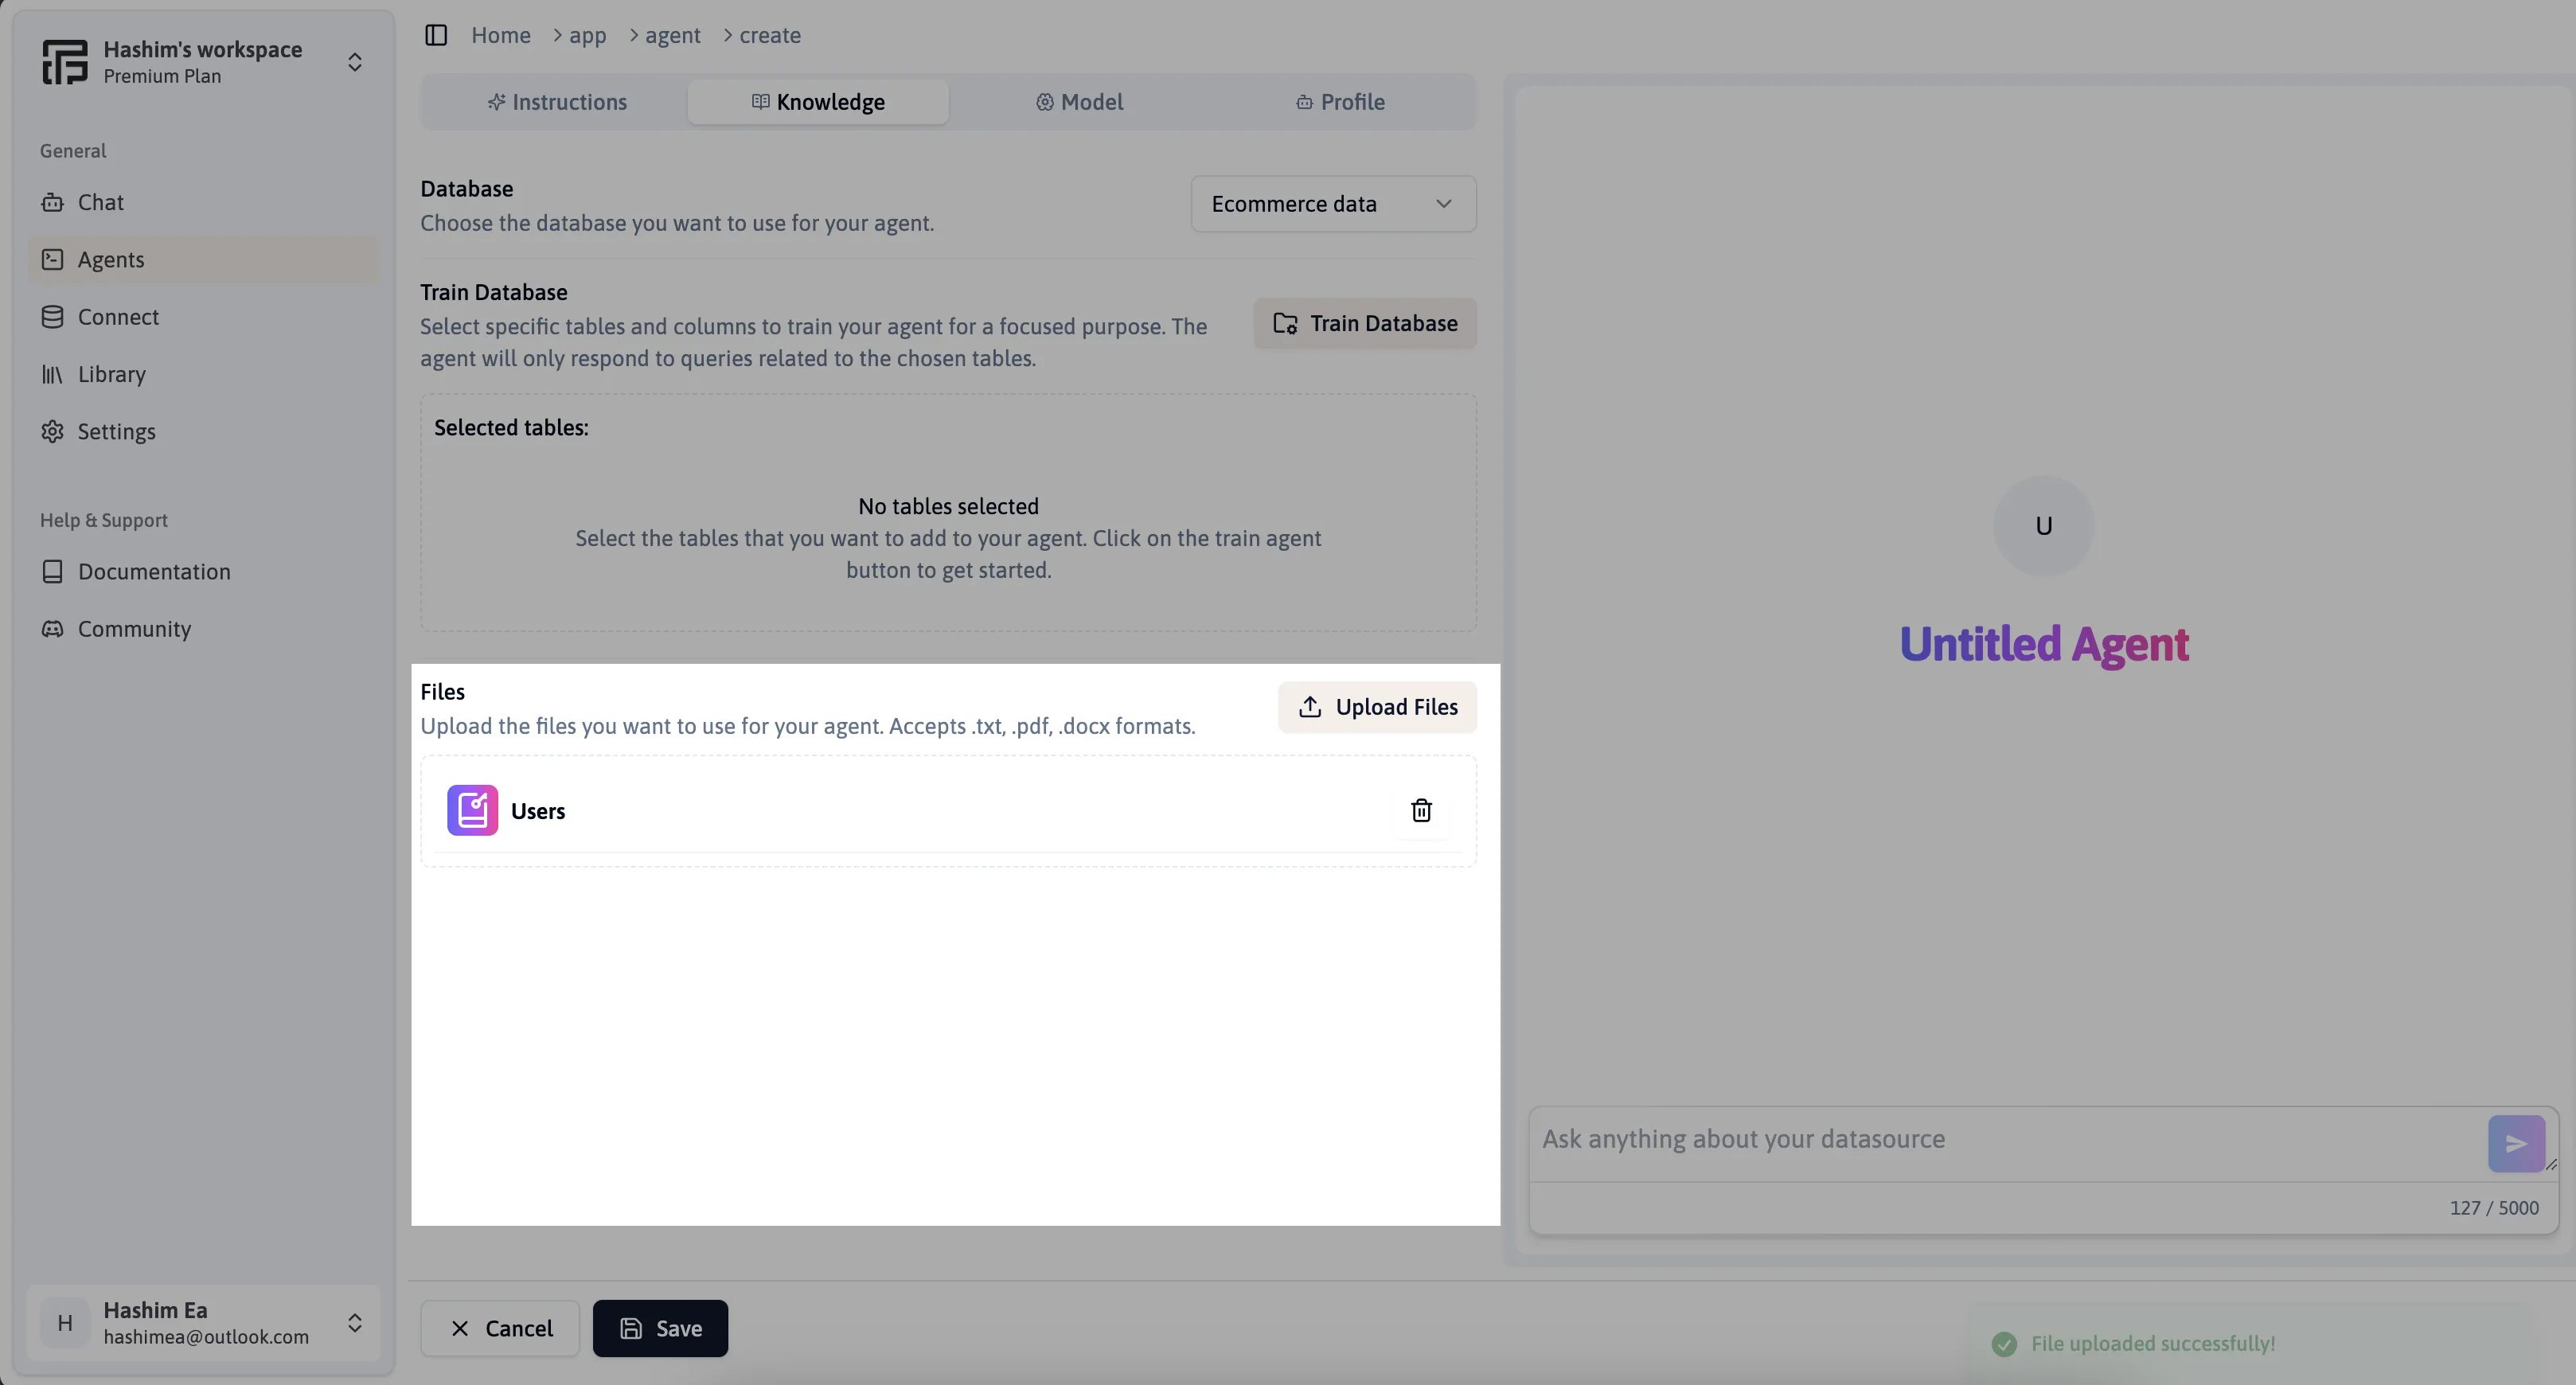
Add Knowledge Base
Move to the Knowledge Tab to connect databases and upload files.
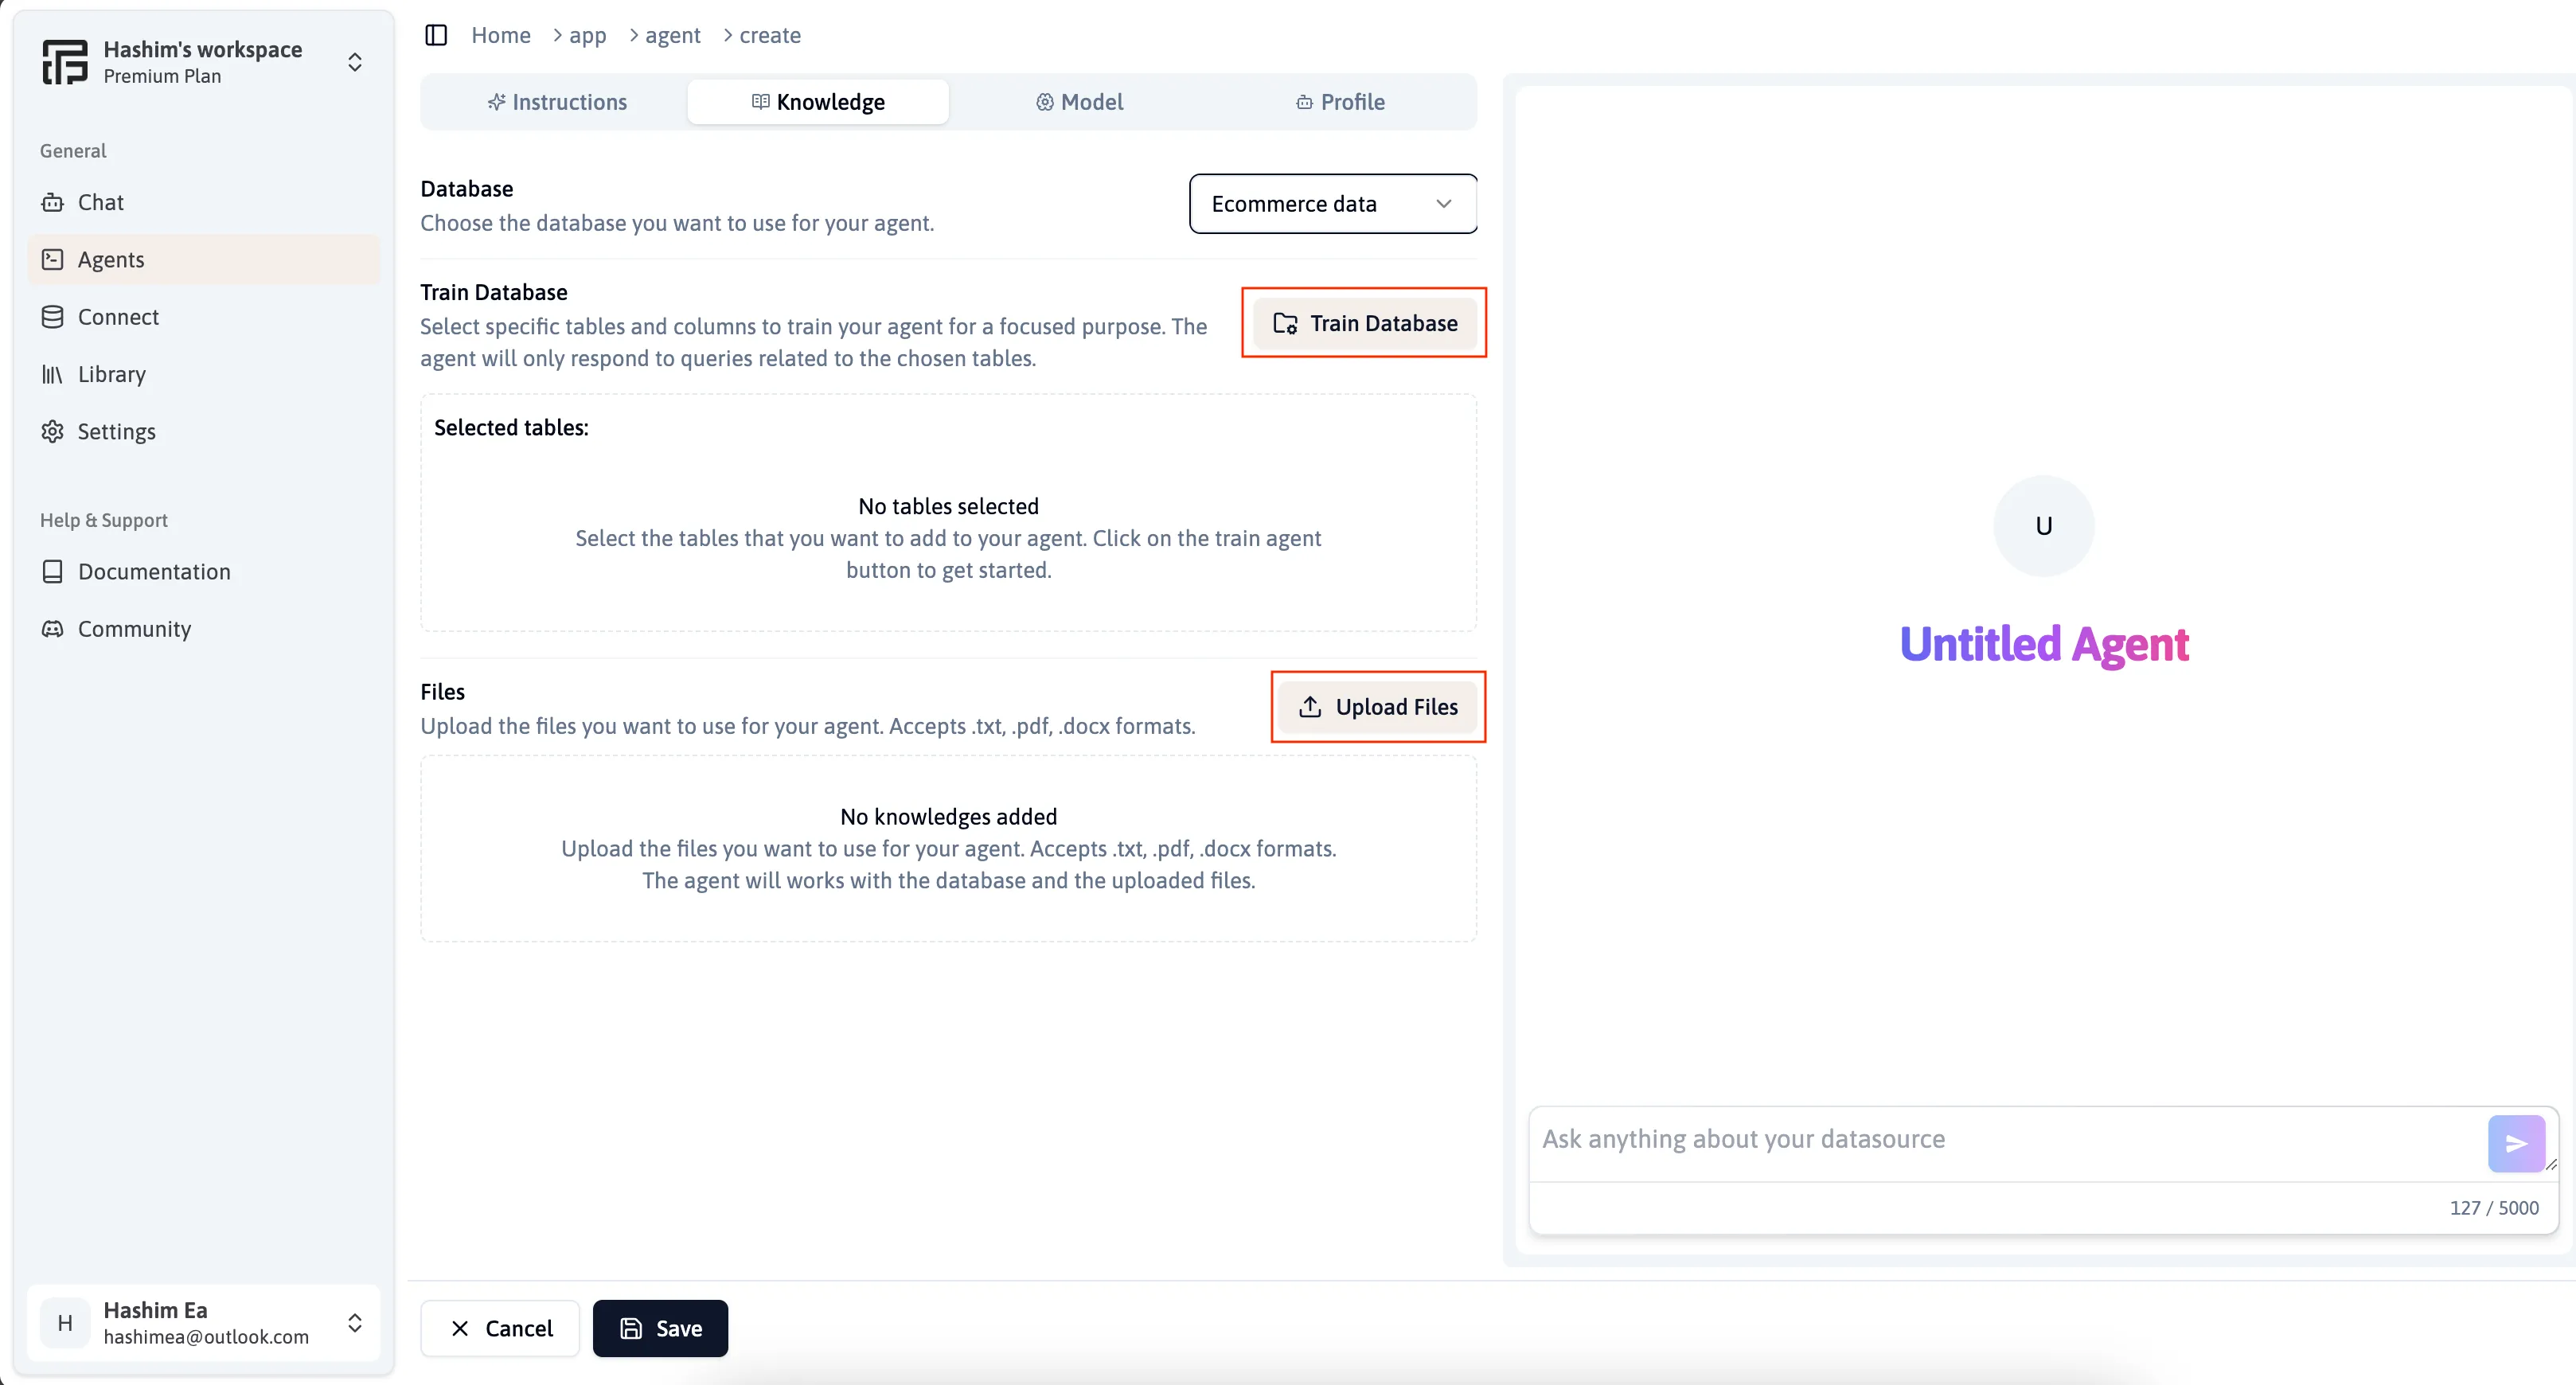
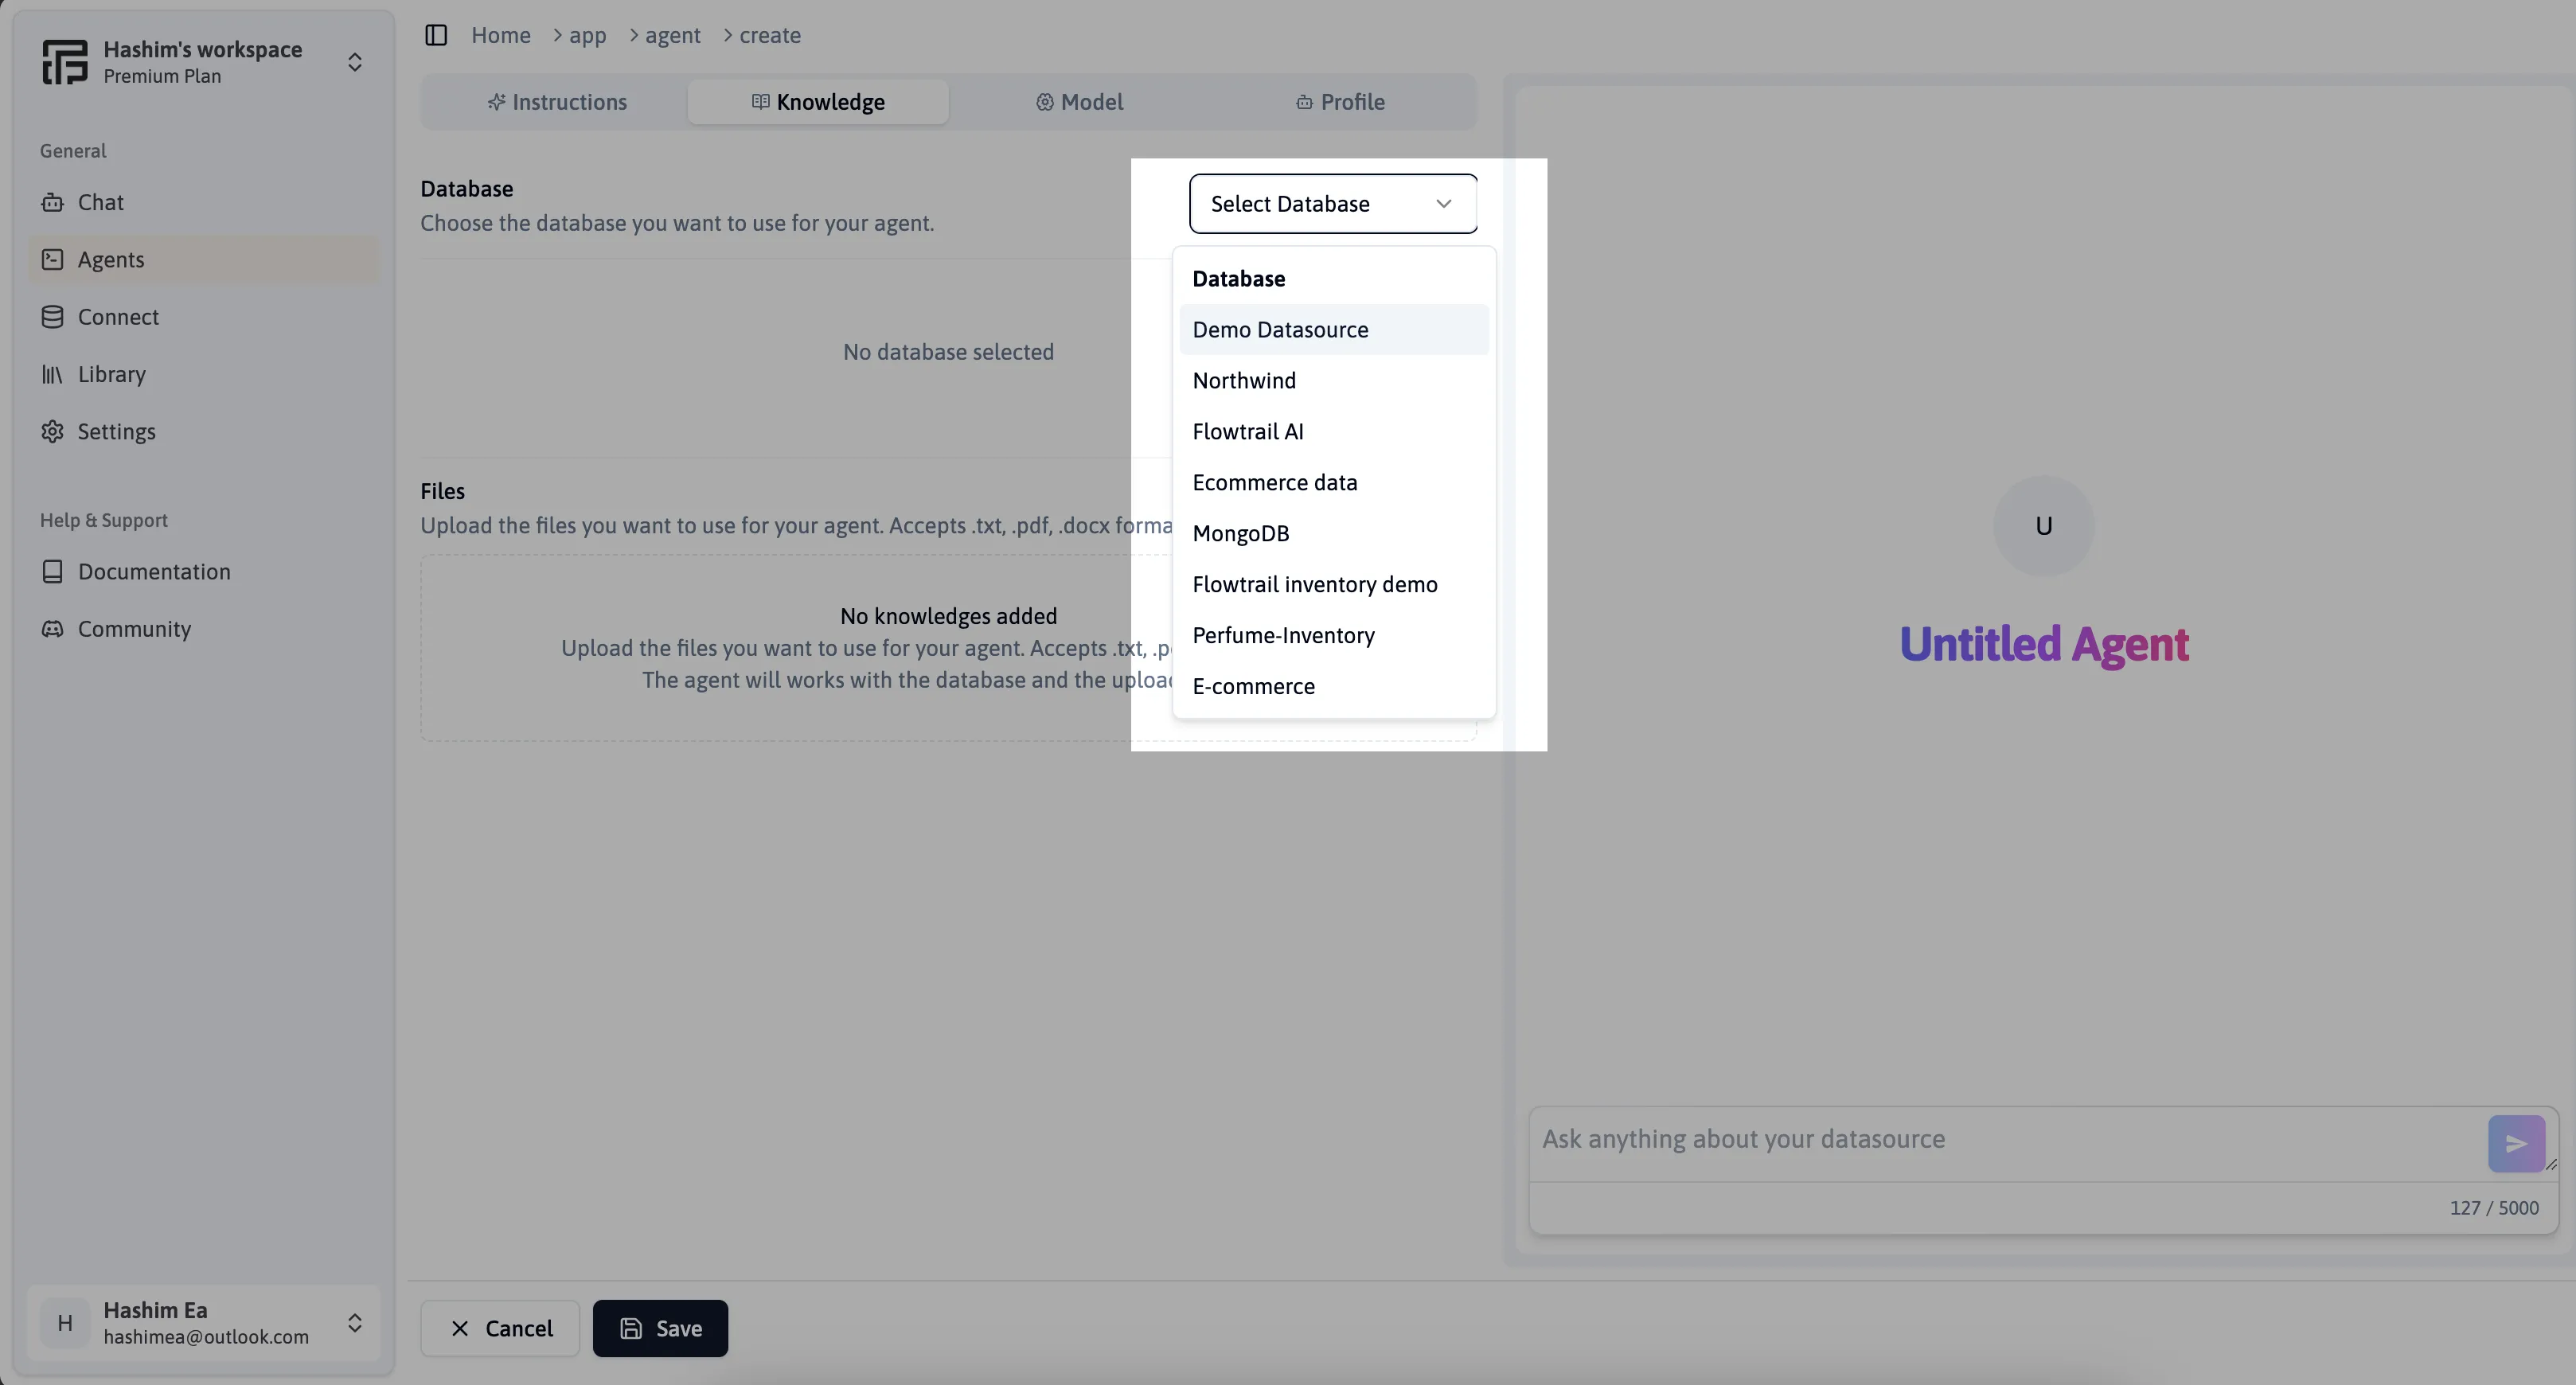
Connect a Database:
- Click “Select Database” and choose the relevant database.
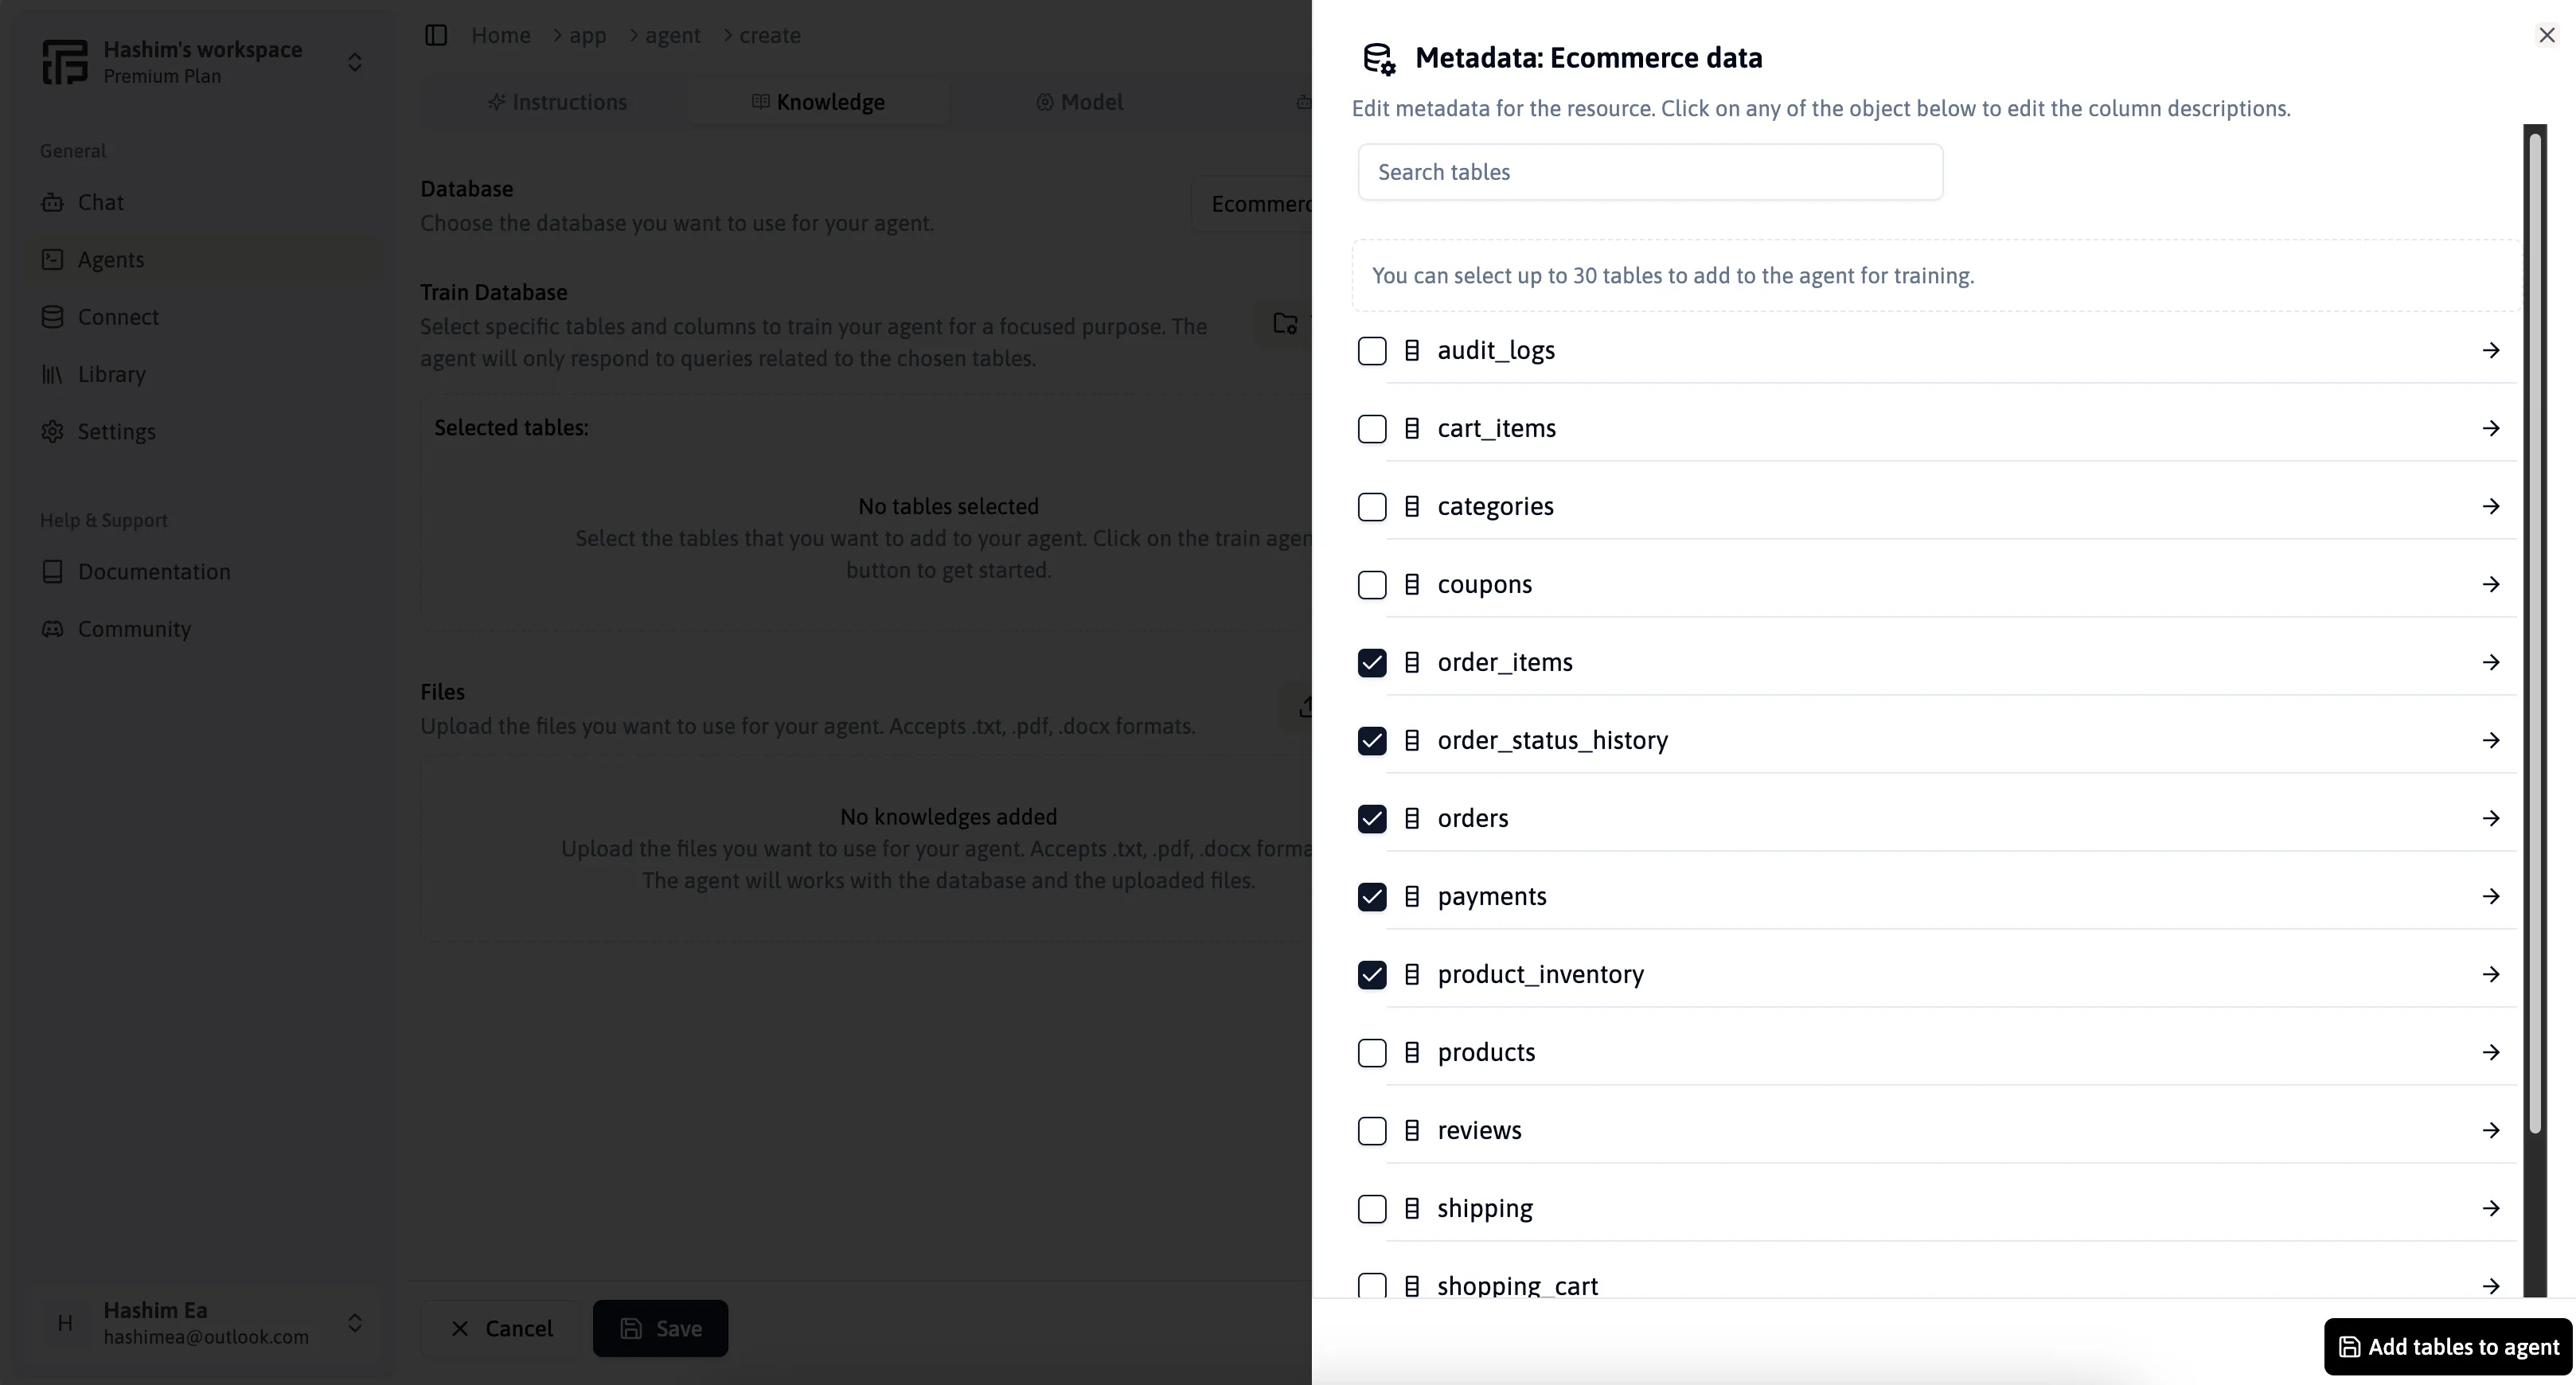
- Click “Train Database” and select the required tables.
Upload Files:
- Click “Upload File” and select the documents you want to add.
- Provide a name and description for the uploaded file.
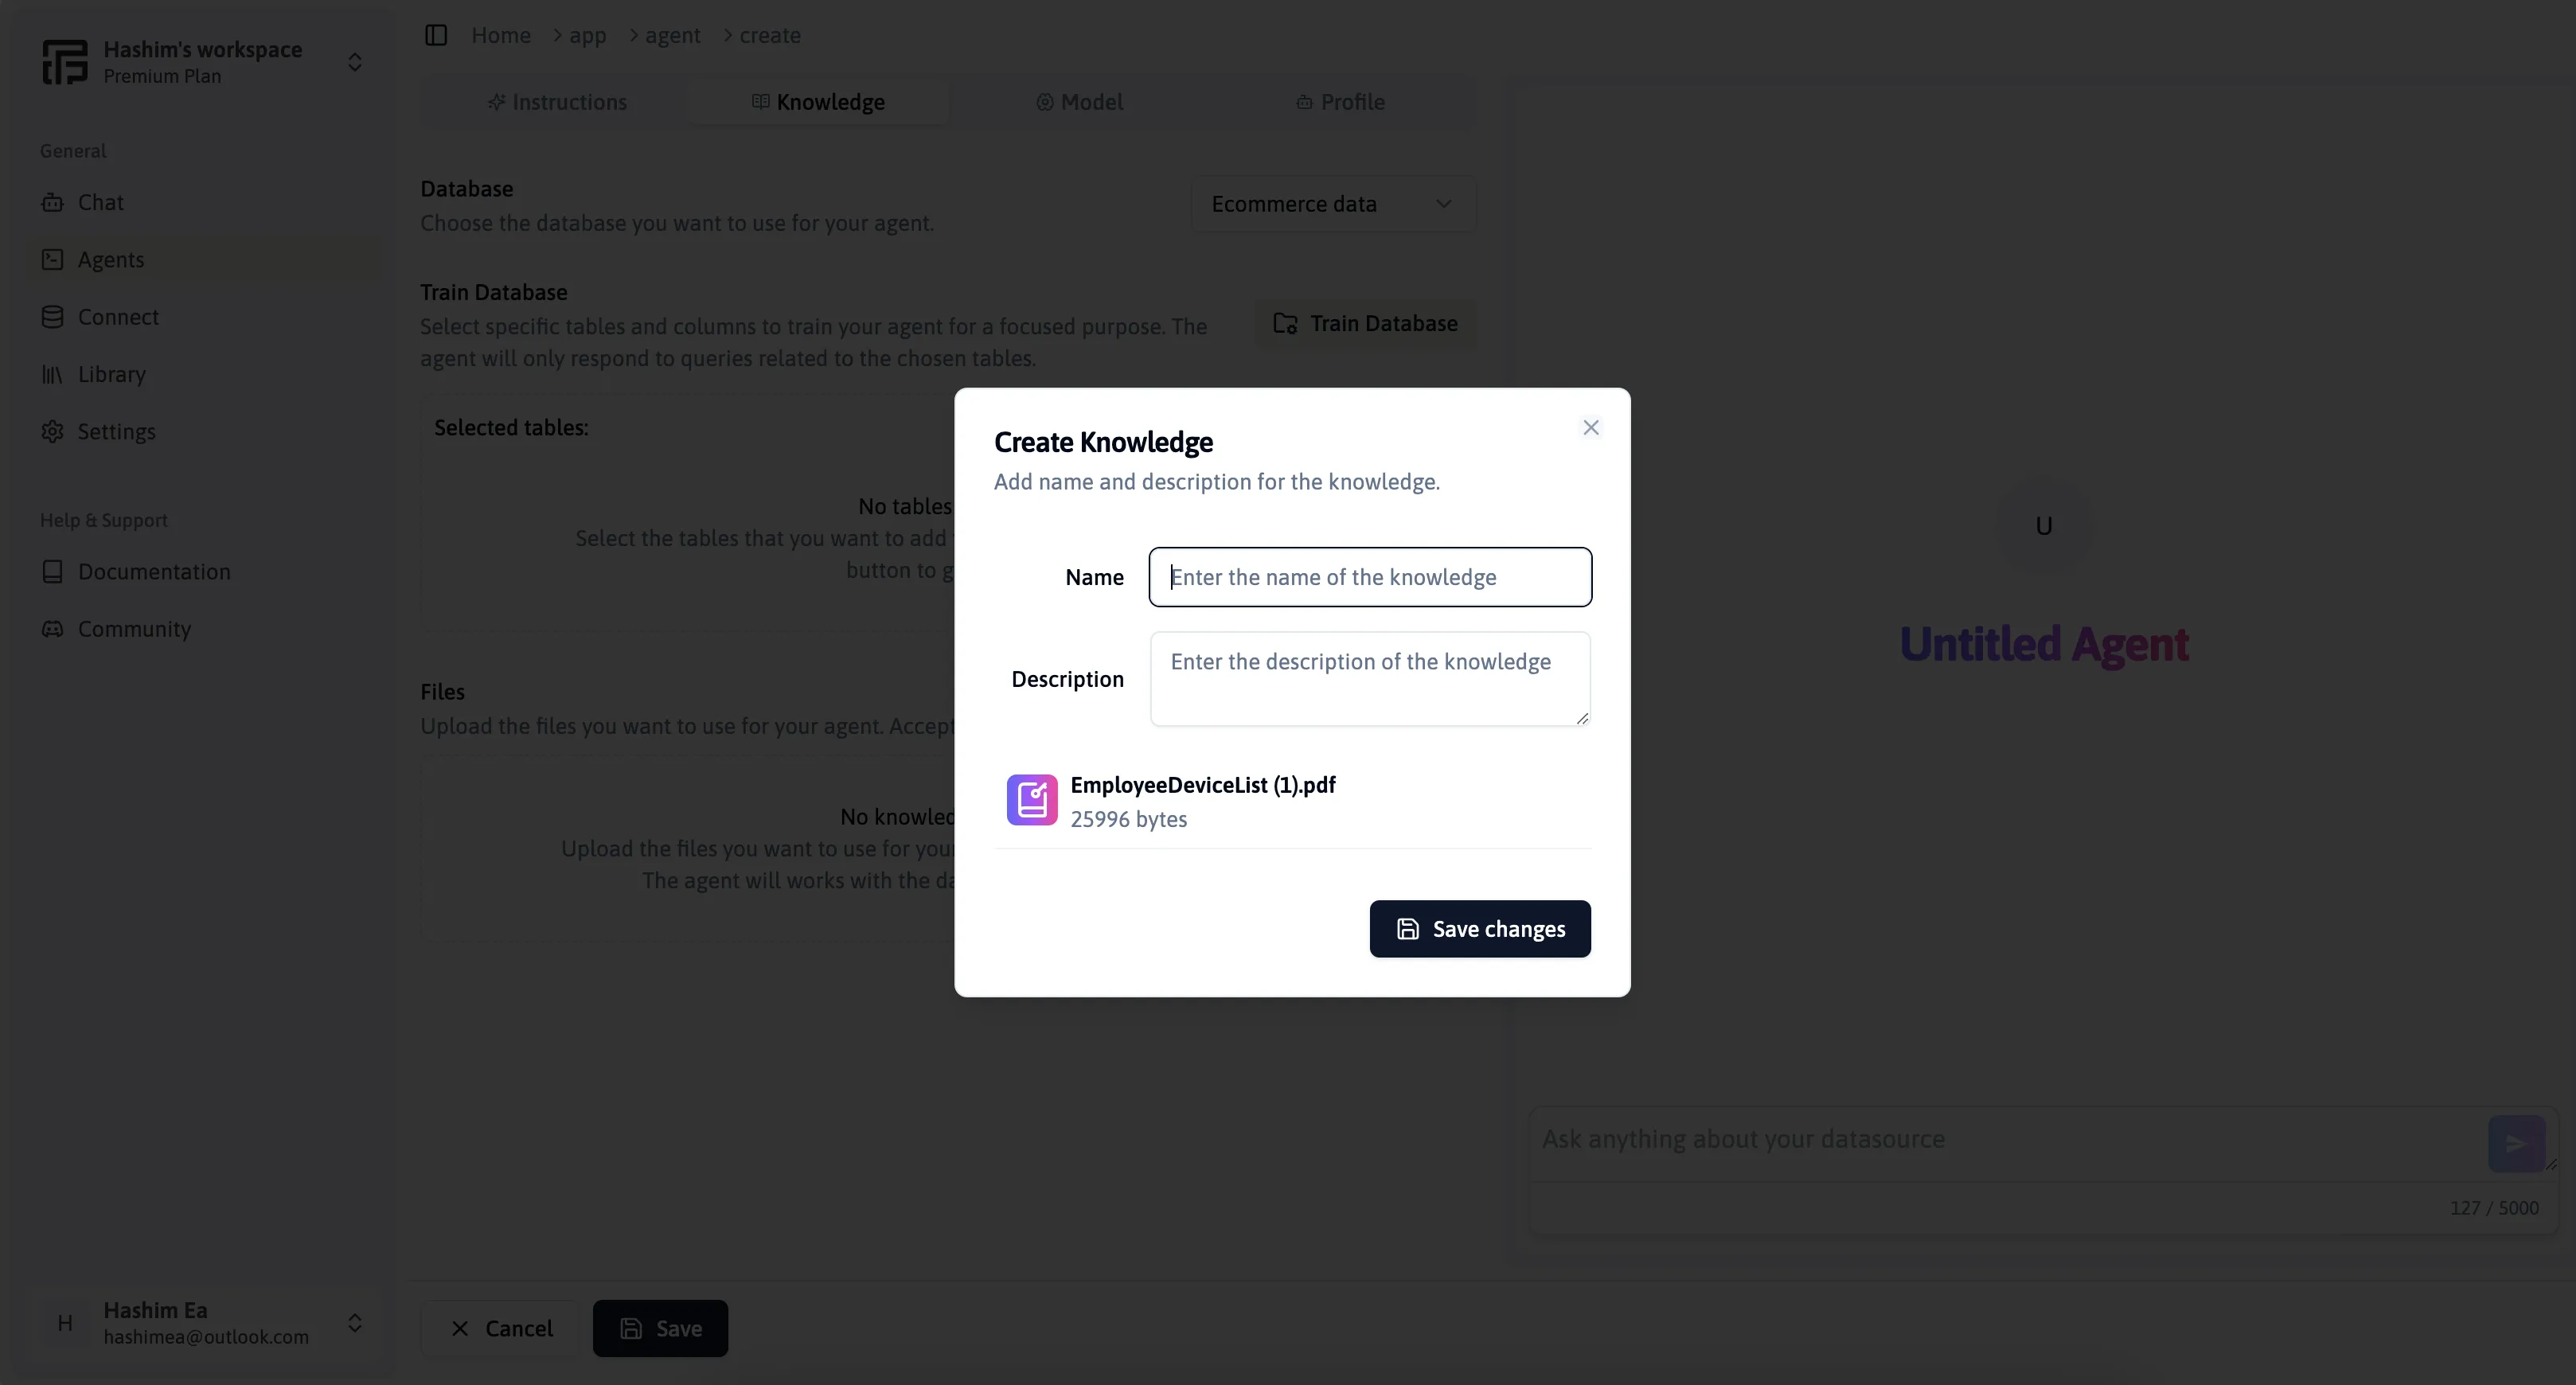
- You can upload multiple files as needed to enhance the agent’s knowledge.
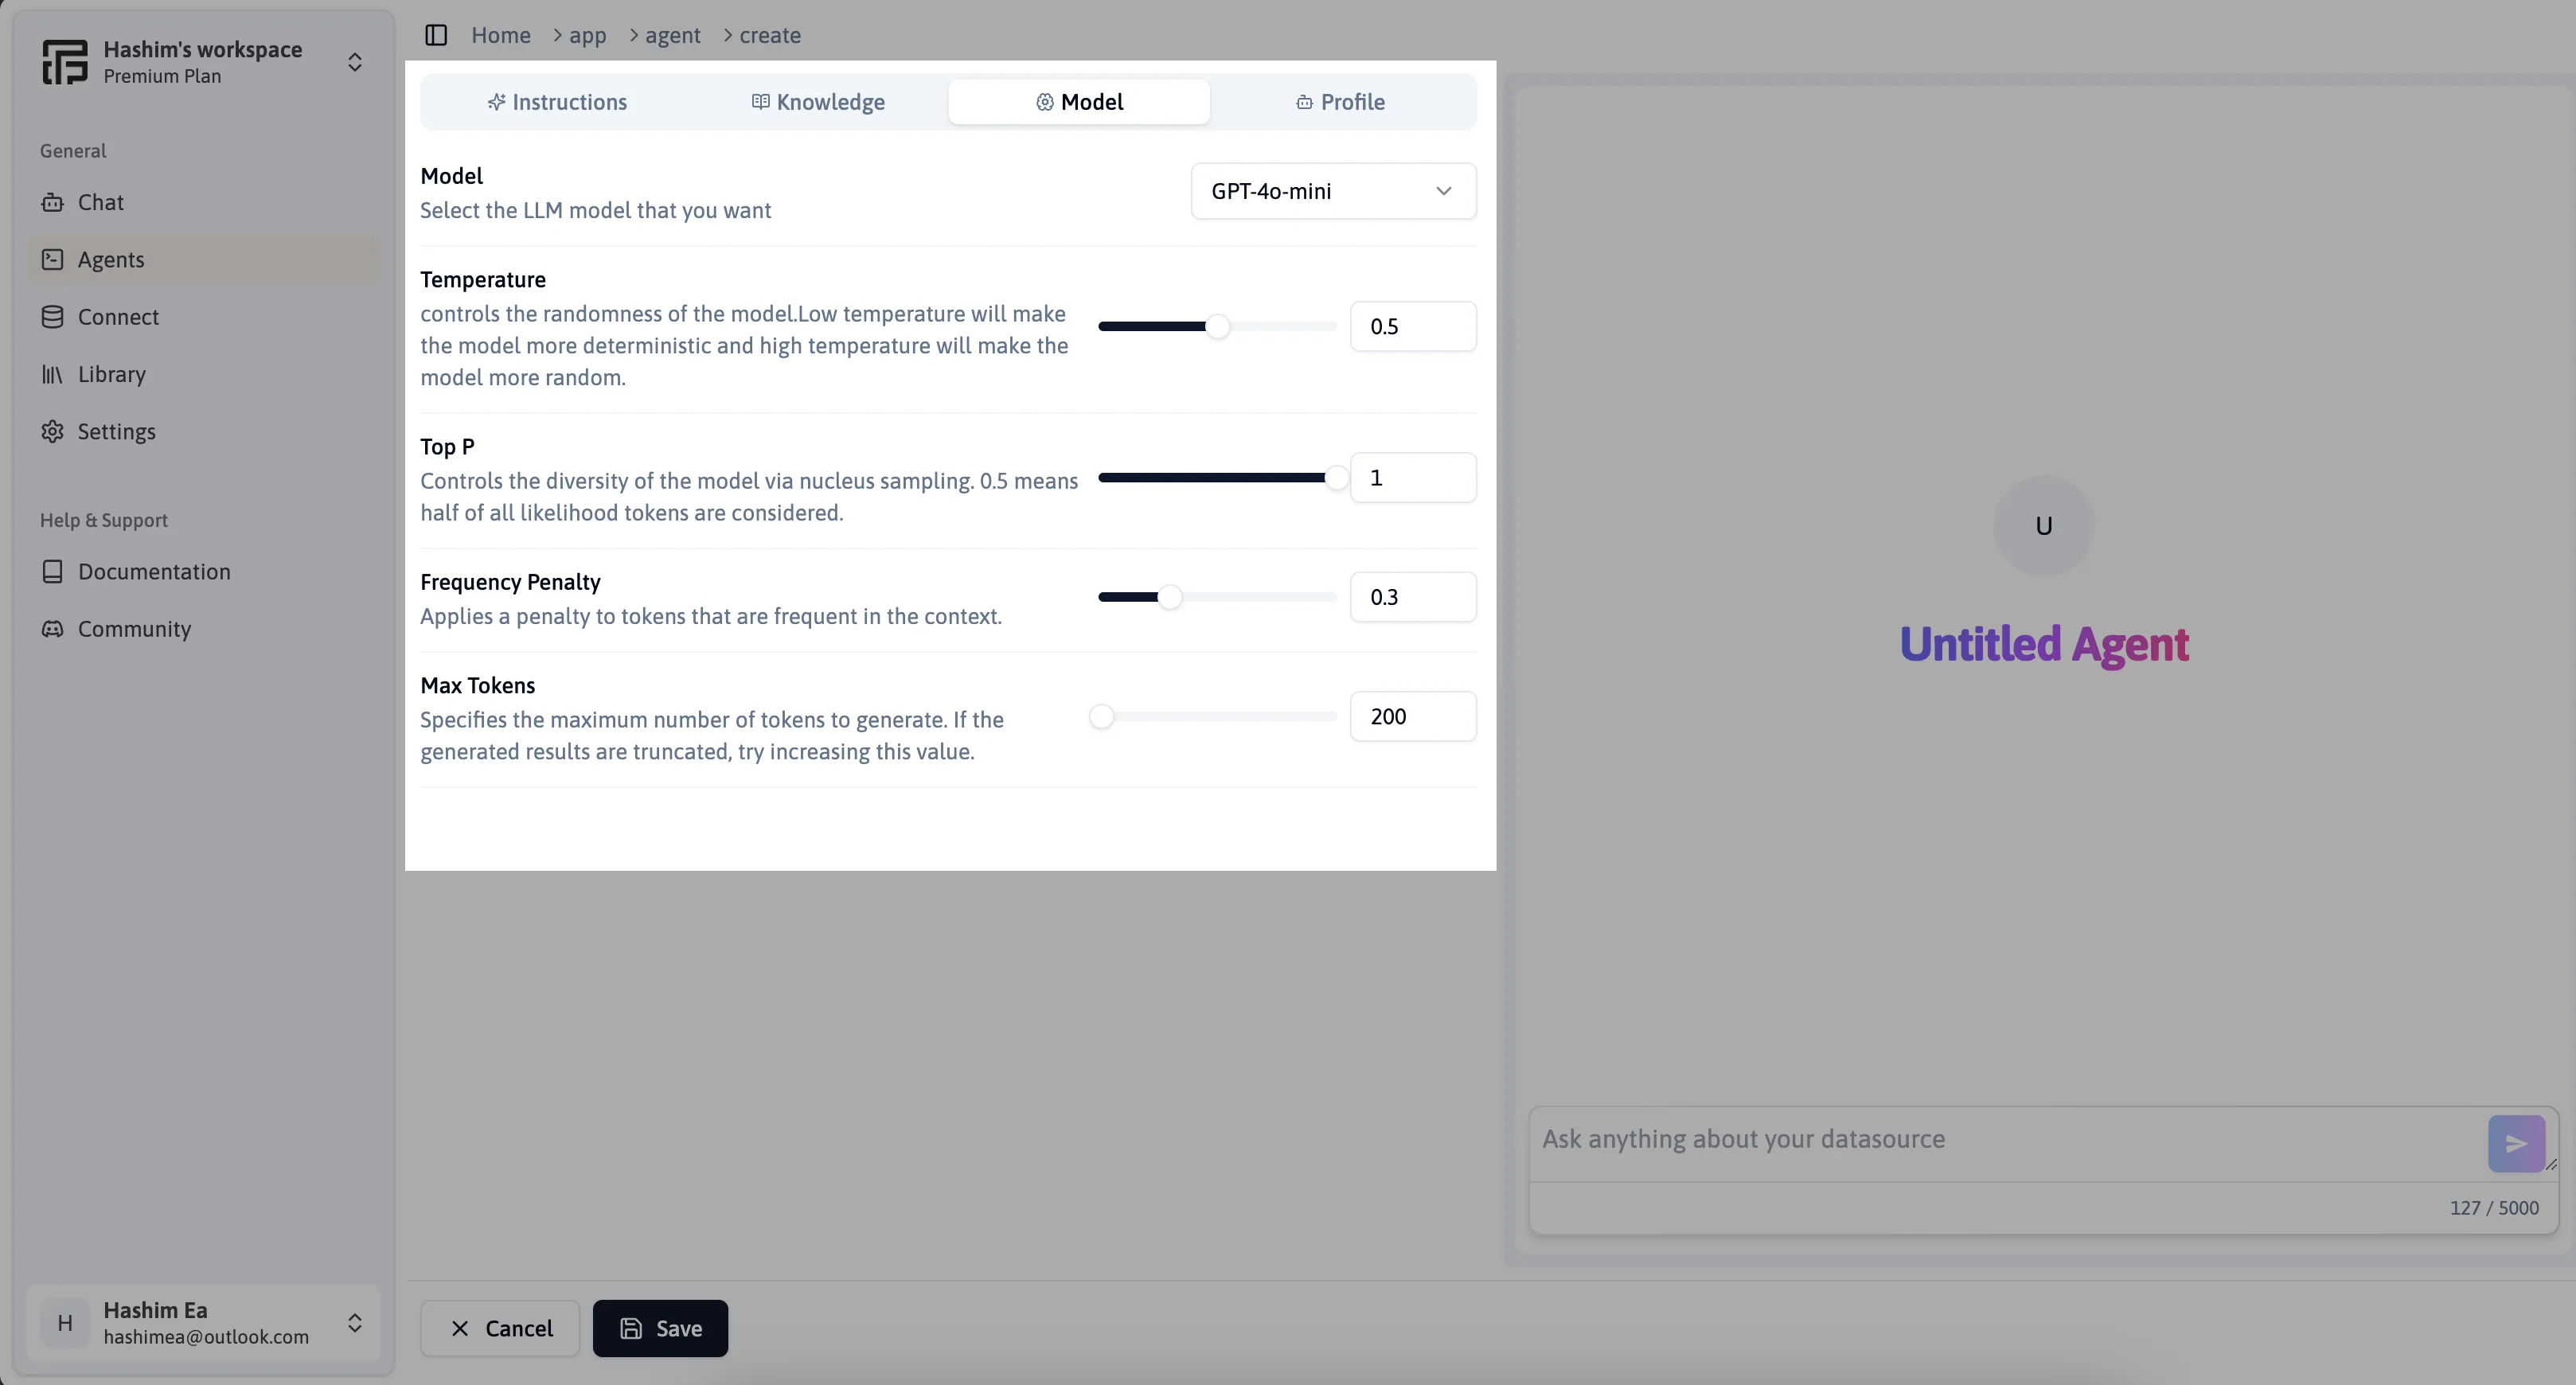
Configure Model Settings
Move to the Model Tab and adjust the agent settings based on your requirements.
- Configure parameters to optimize how the agent interacts with the data.
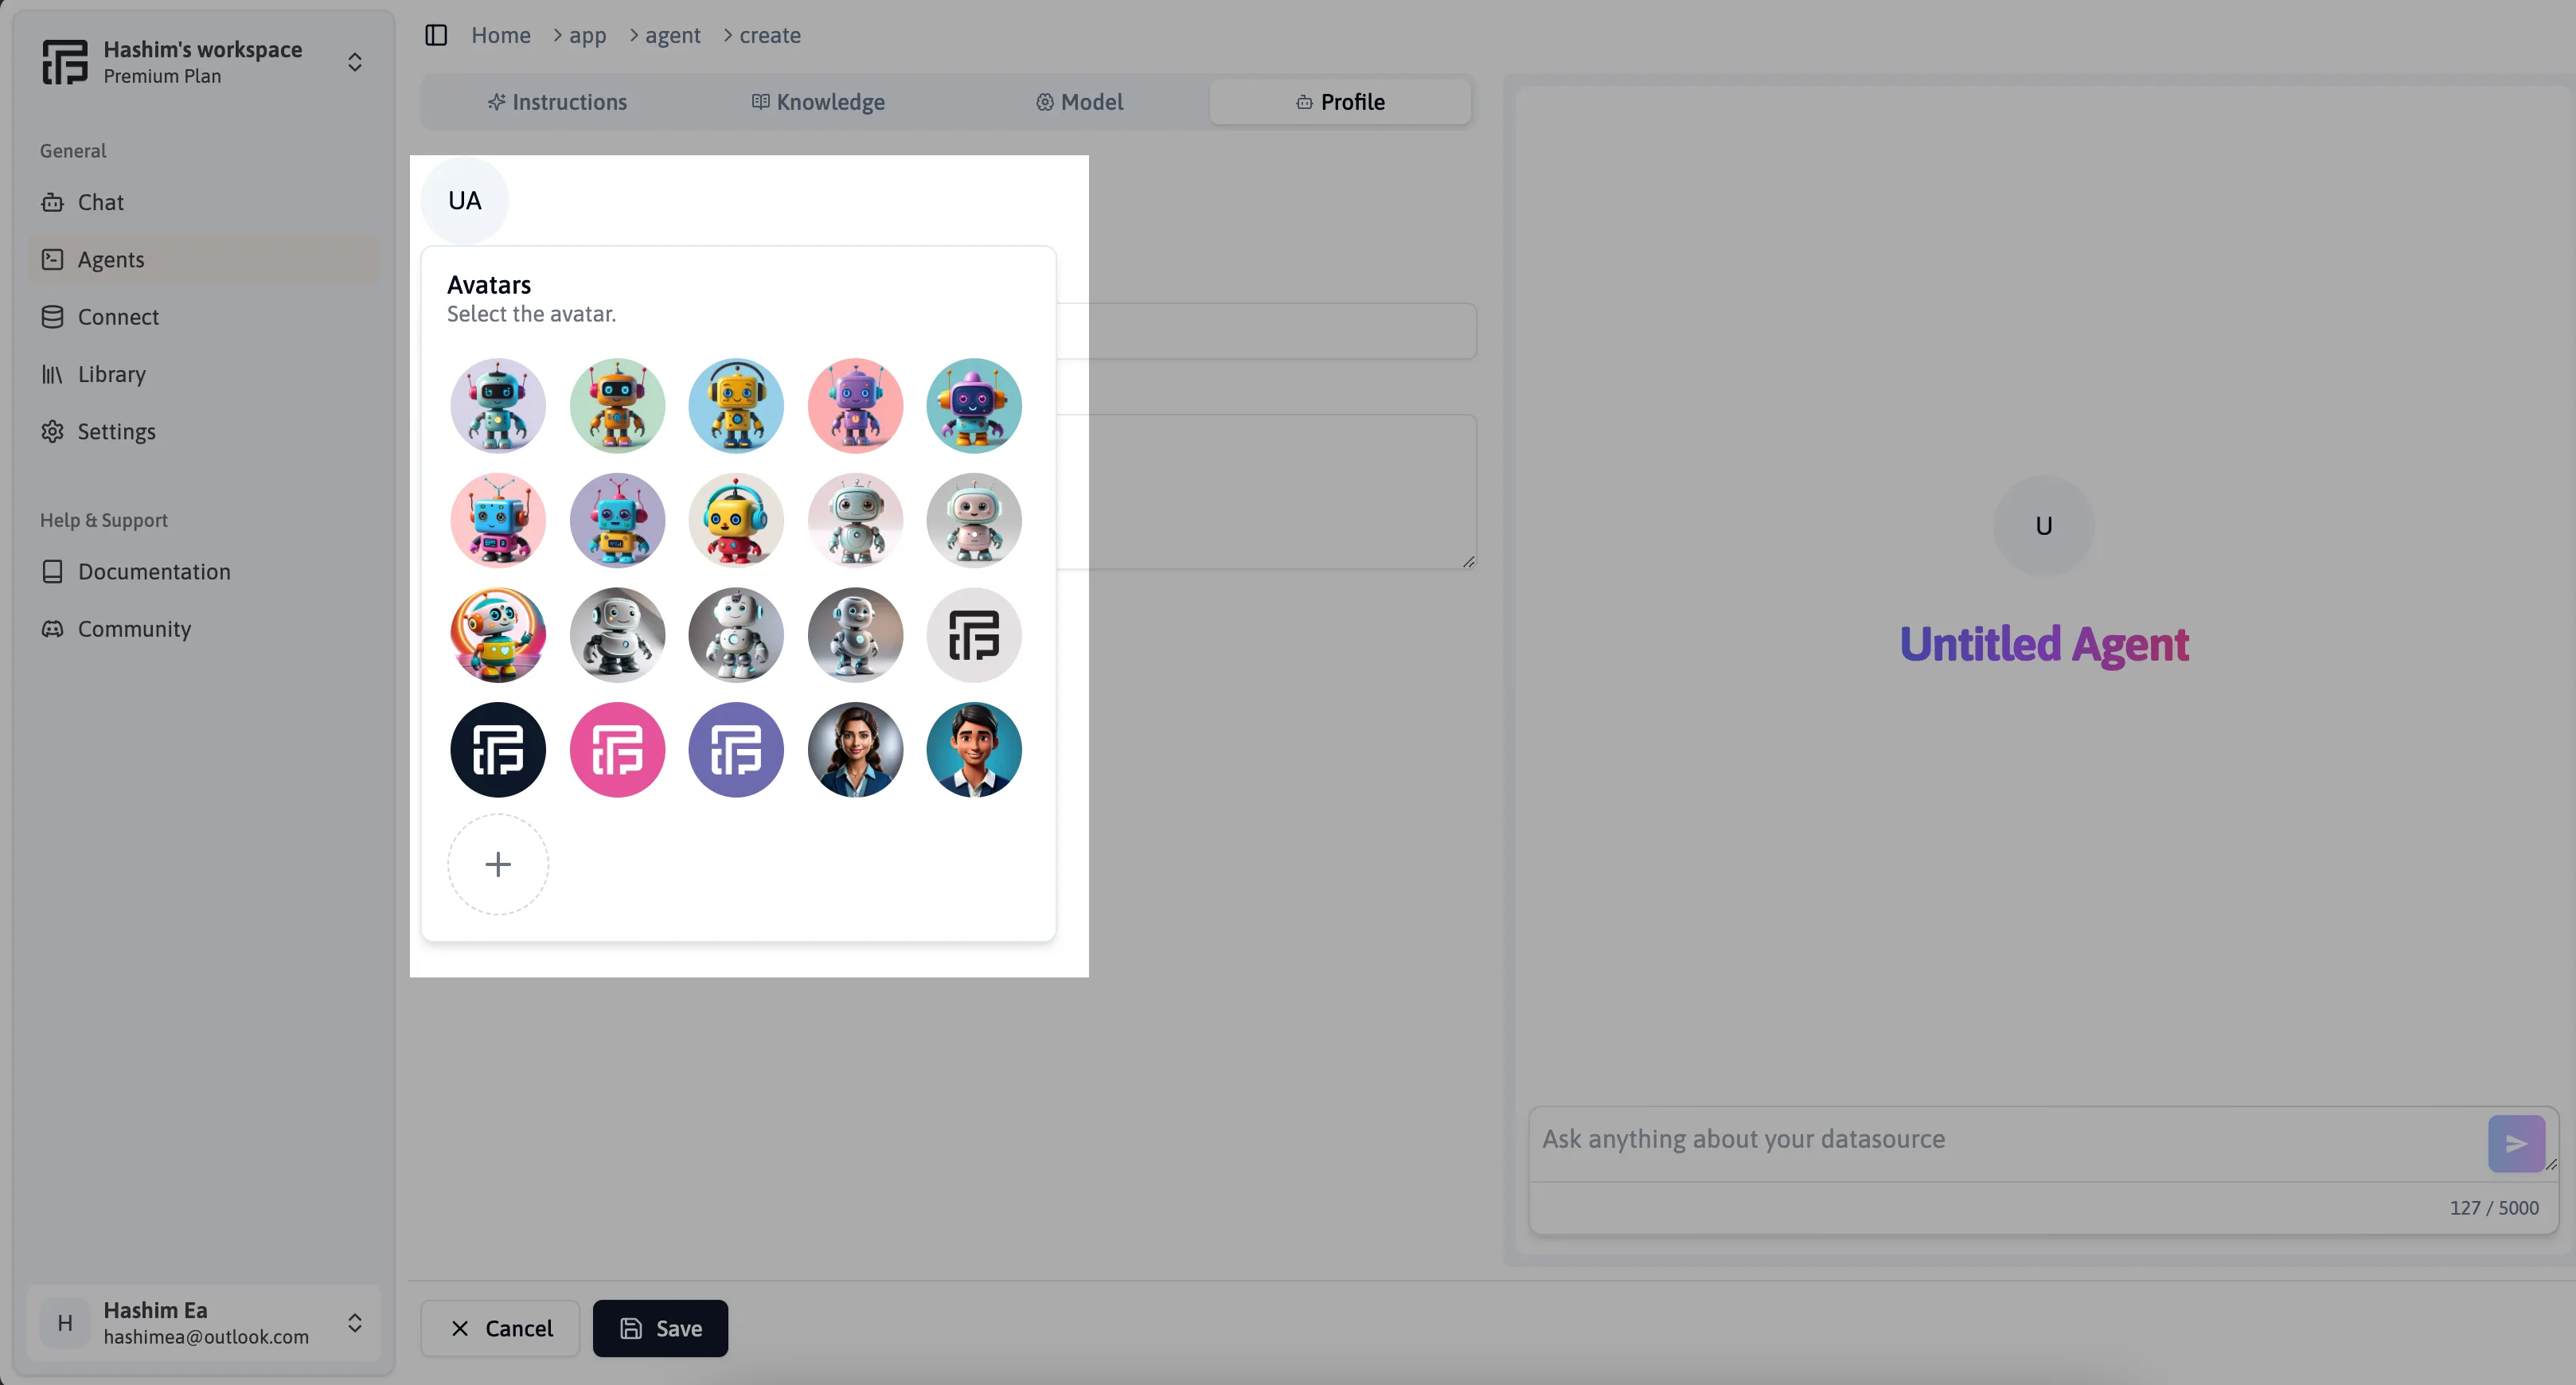
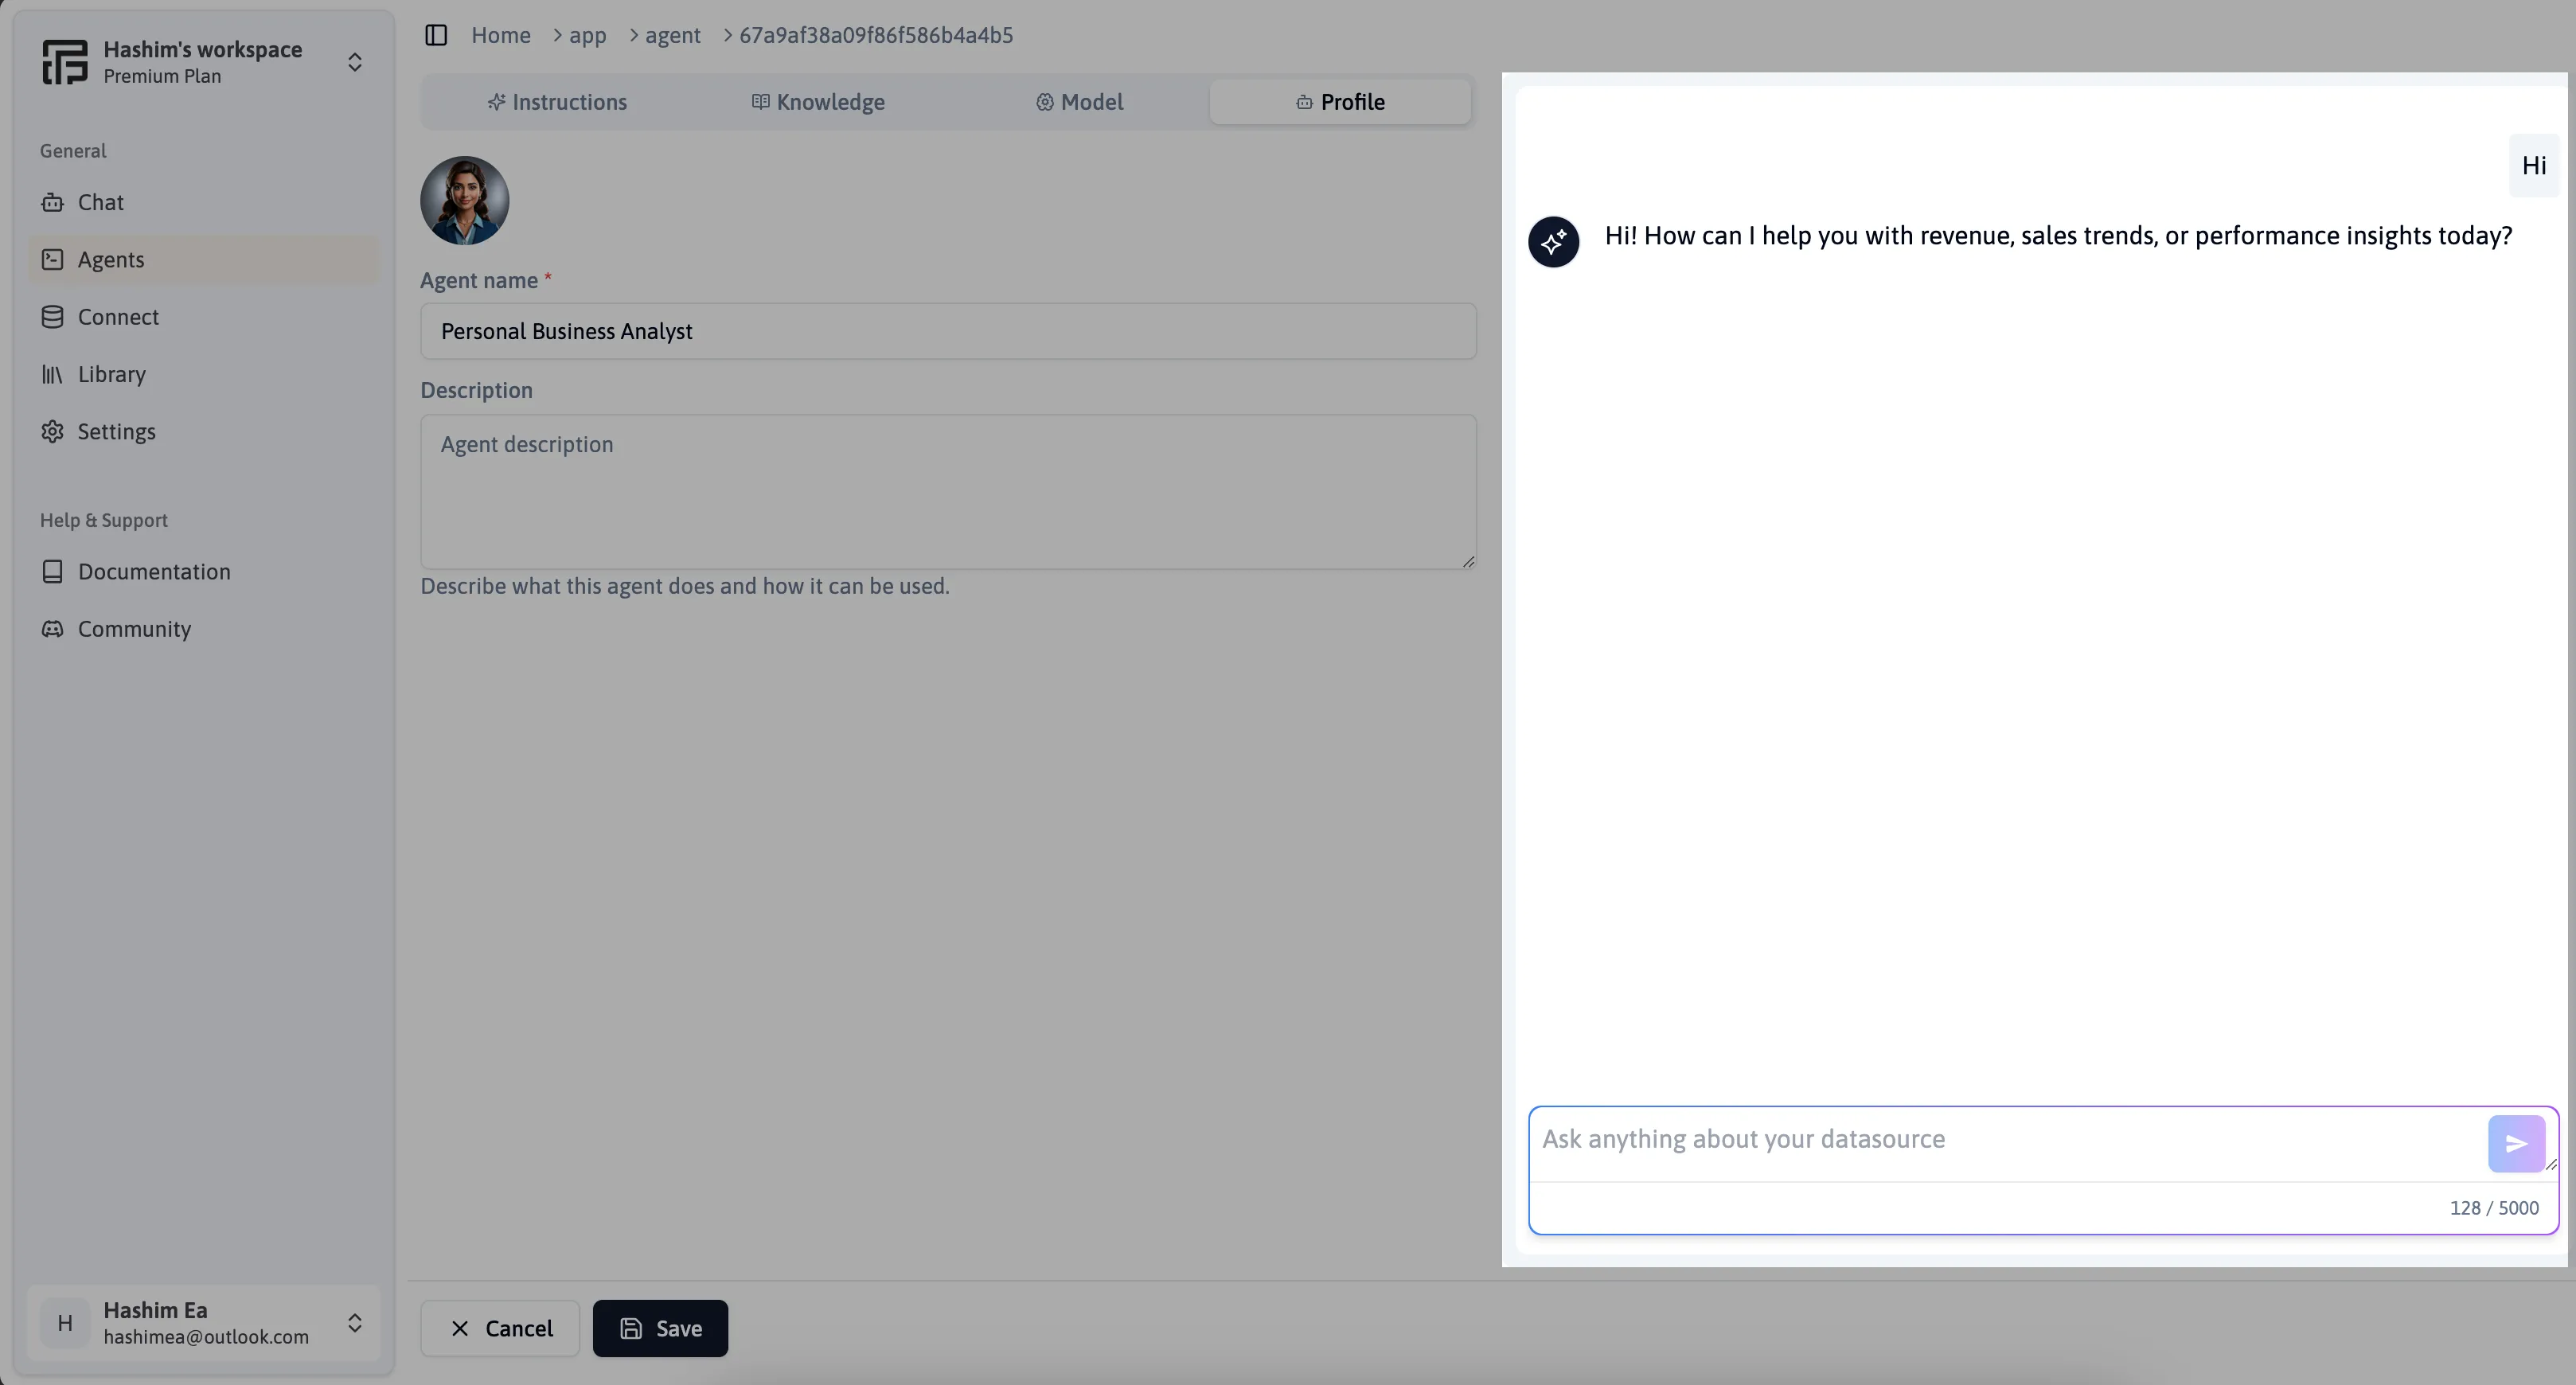
Set Up the Agent Profile
Go to the Profile Section to customize the agent’s appearance:
- Select a default profile image or upload a custom image from your device.
- Provide a name for your agent.
- Click the Save button at the bottom to finalize the agent setup.
Test and Modify the Agent
- Use the Agent Chat Panel on the right-hand side (RHS) of the screen to test responses.
- Modify the agent’s settings accordingly based on its performance.
Conclusion
By following these steps, you can successfully create, configure, and train an AI Agent in FlowTrail AI. Your agent will be ready to interact with databases and files, providing intelligent responses based on the configured knowledge base.